# How to set up your Windows device for CERN use
Please navigate this guide as following:
- On non-touchscreen devices, using either the arrows on your keyboard or the ones on the bottom-right corner of the screen.
- On touchscreen devices, swiping from right to left for going through each slide.
---
## Stages
- Initial Windows setup
Common for all management models.
- [Choosing your management model](#/management-models)
- [CERN Managed](#/cern-managed)
- [Join CERN domain](#/join-cern-domain)
- [Self Managed](#/self-managed)
---
<style>
section {
padding-top: 0 !important;
}
p, img {
margin-top: 0 !important;
}
img {
max-width: 800px !important;
}
p, li {
font-size: 30px !important;
}
.footer {
display: none;
}
</style>
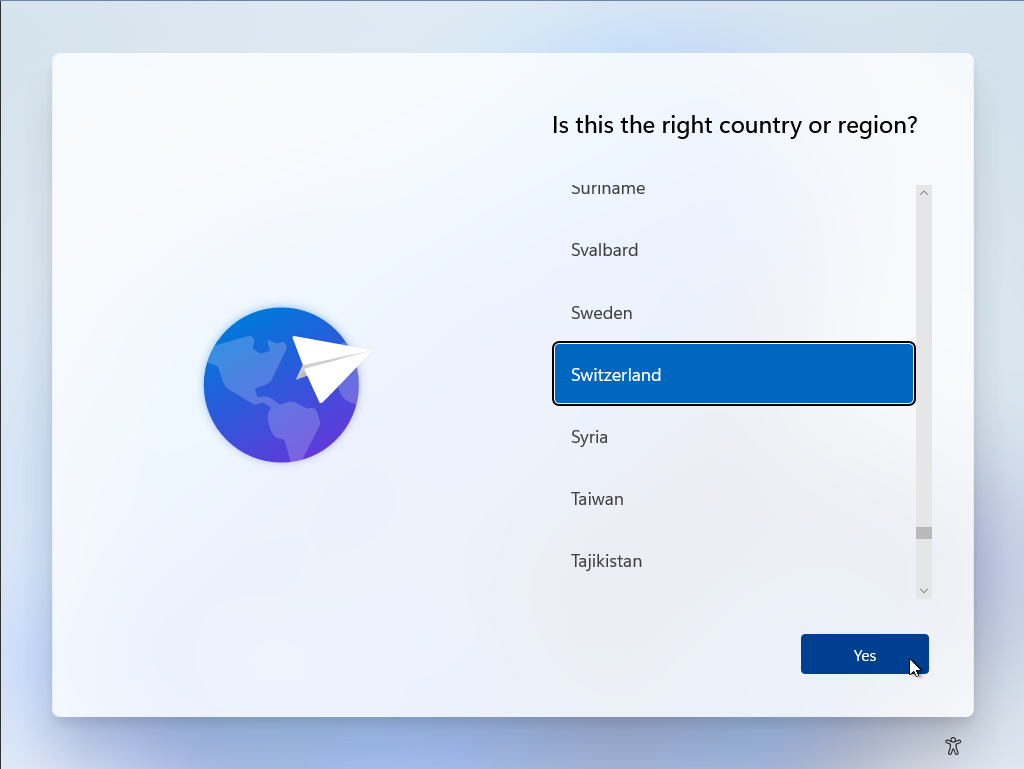
Choose your preferred region. This will affect how date and time are shown, the starting day of the week, etc.
---
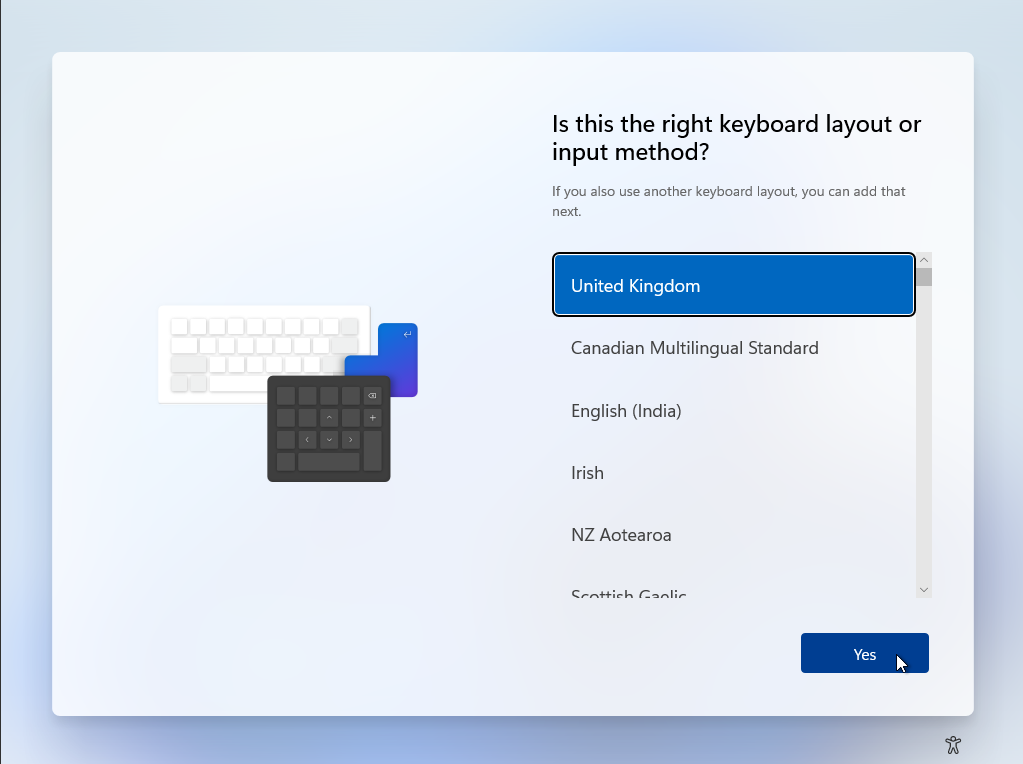
Choose your primary keyboard layout. This is normally the one of your physical keyboard.
---
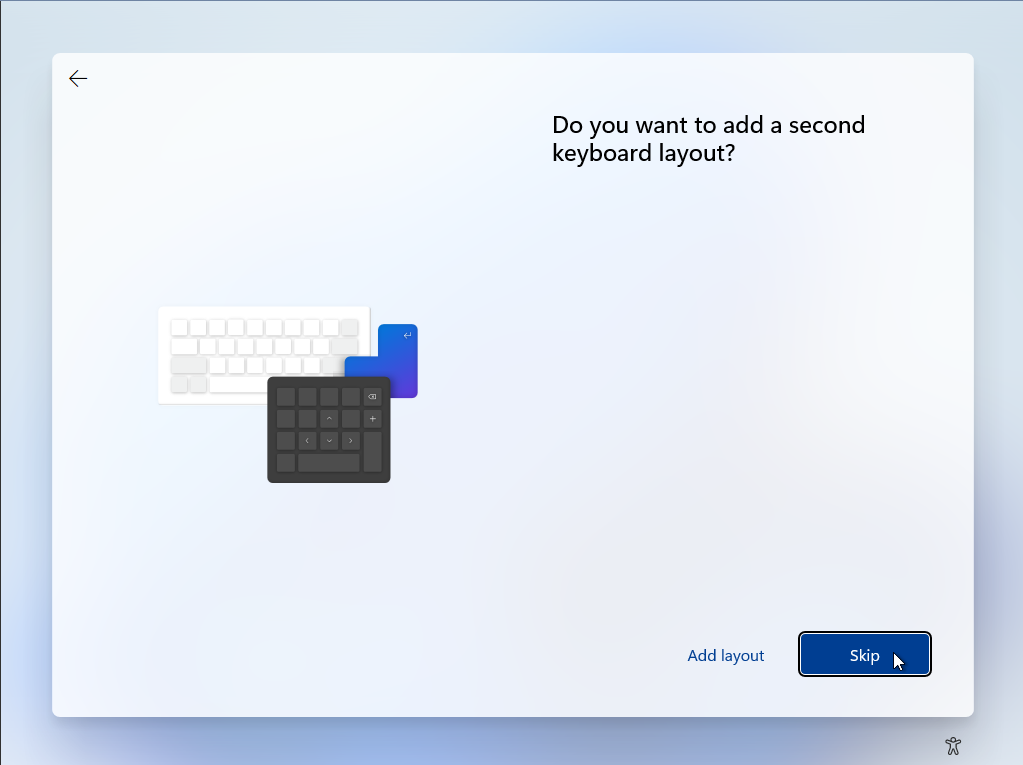
Optionally, you can add a secondary keyboard layout, for example for having a combination of English and French layouts.
---
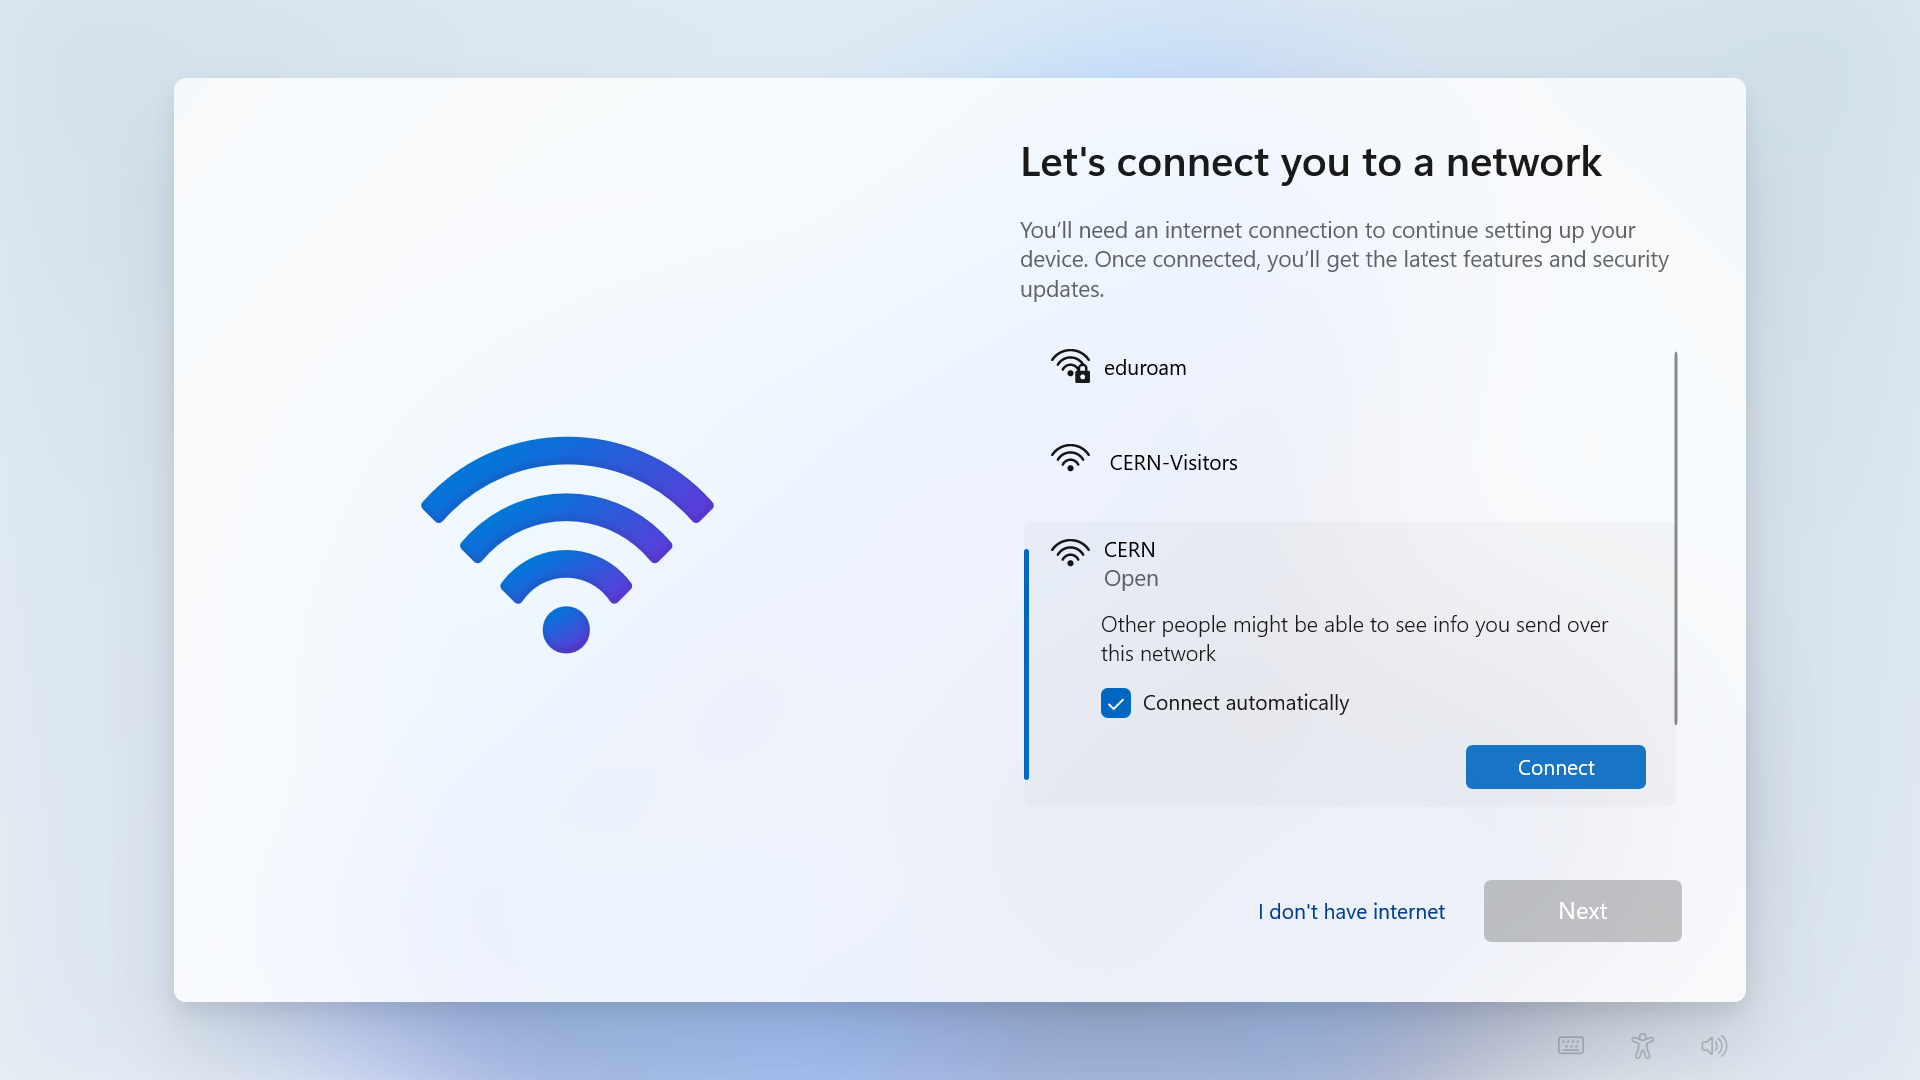
Connect to the CERN network to register your device.
---
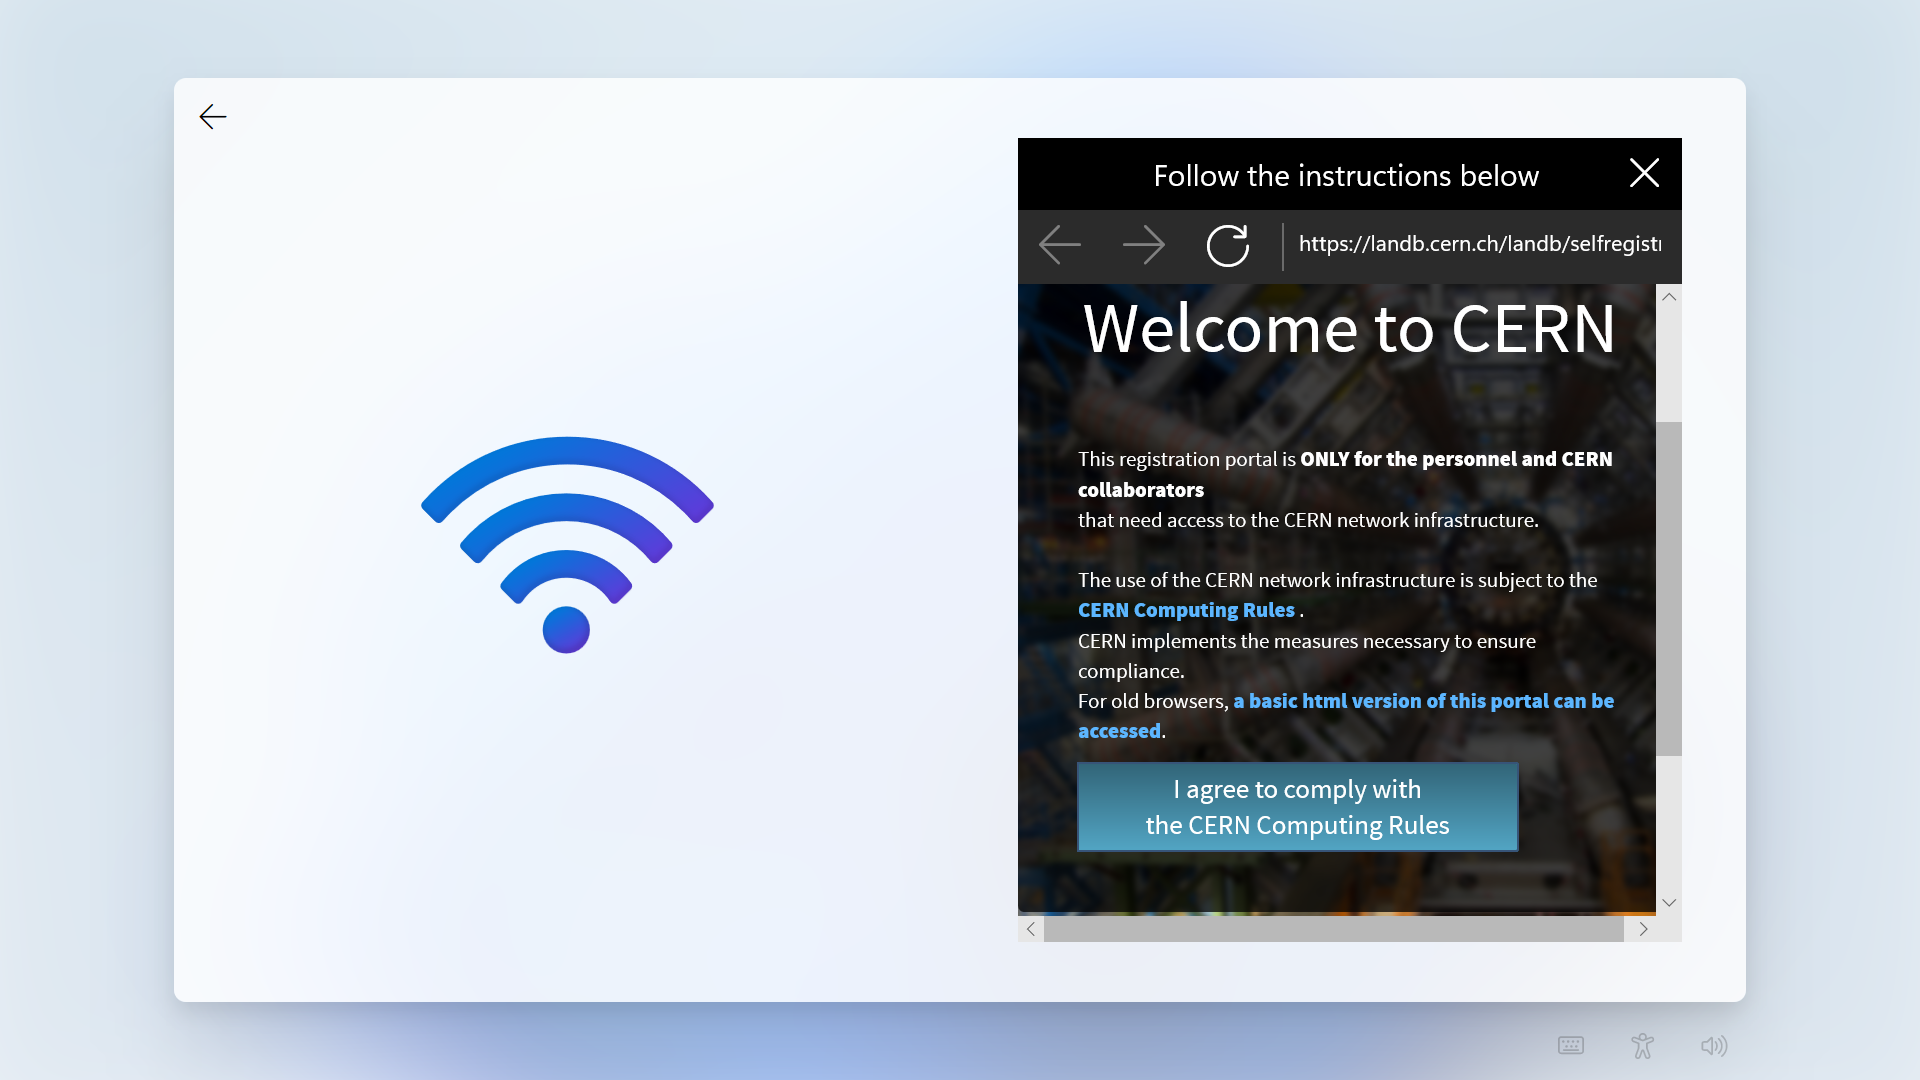
The Network Registration page will appear, read and agree to the CERN Computing Rules.
---
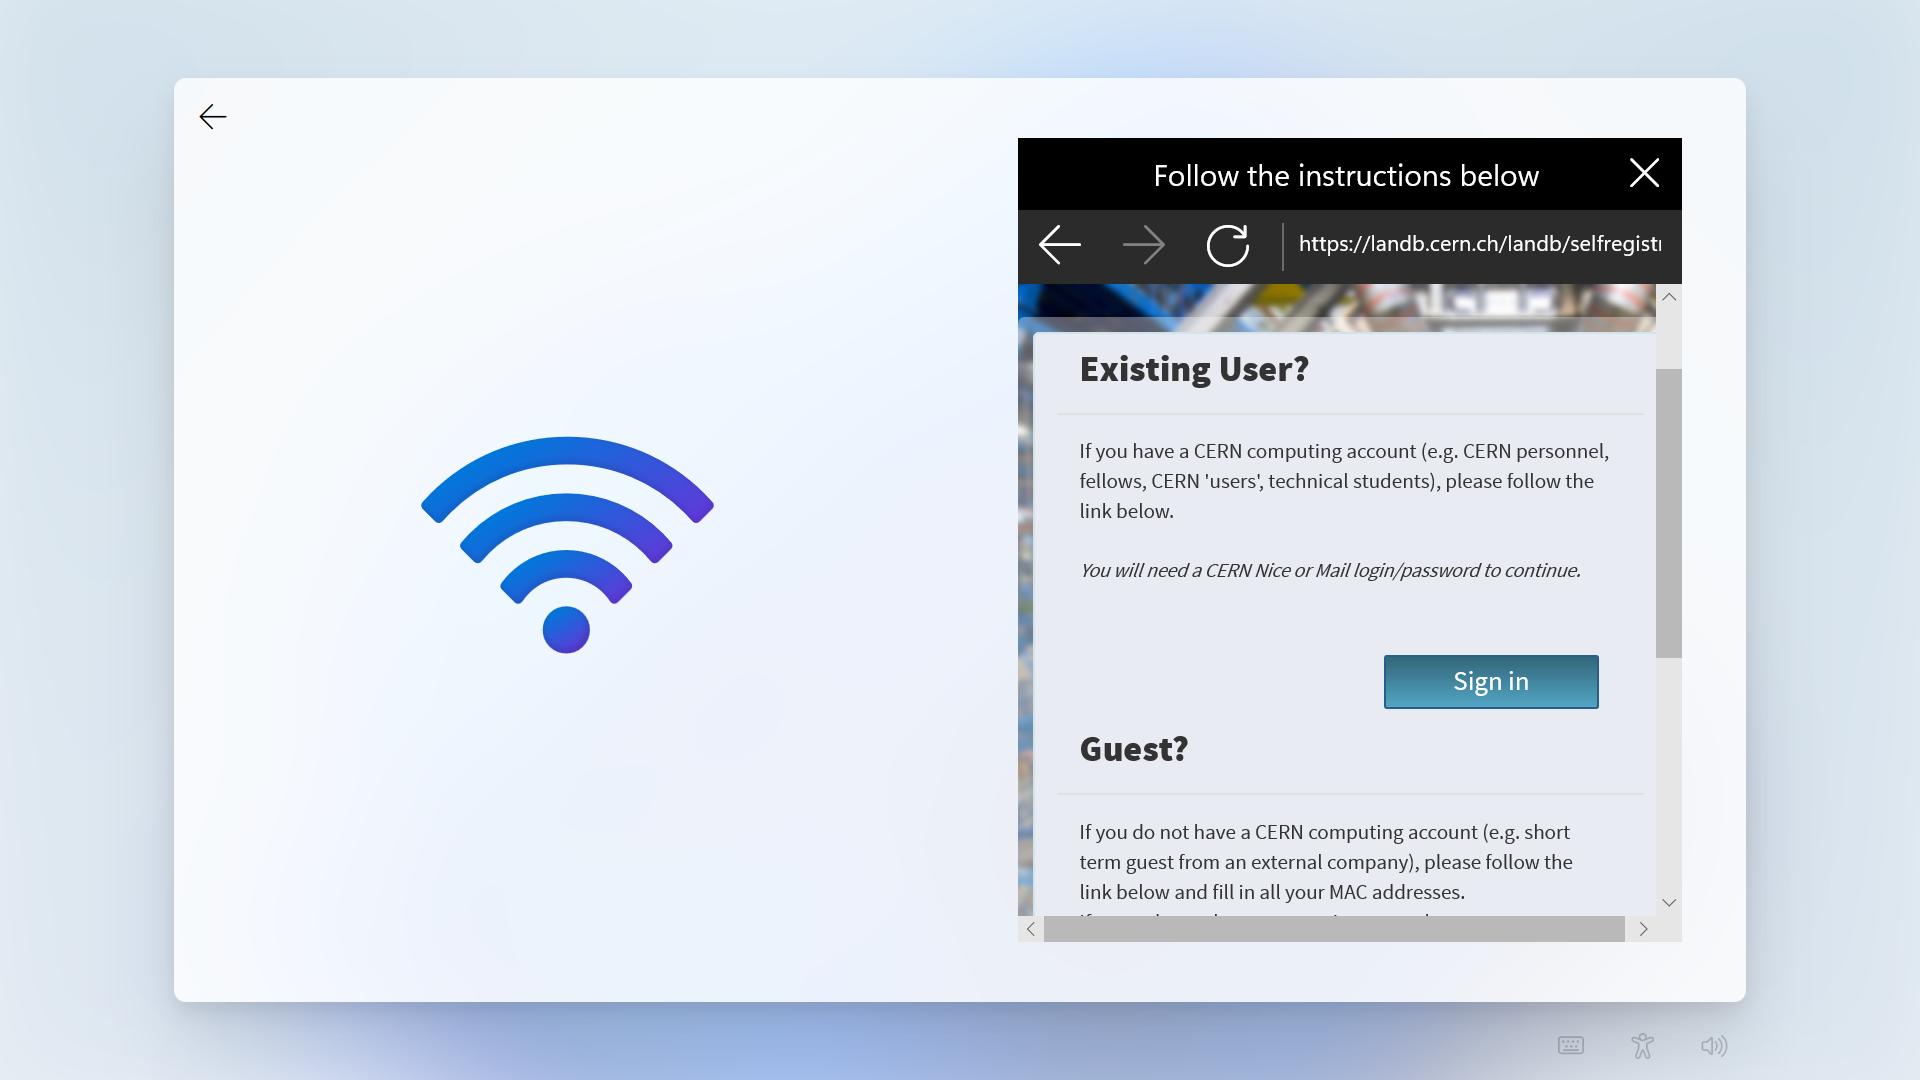
Click on the `Sign in` button to be redirected to CERN Single Sign-On.
---
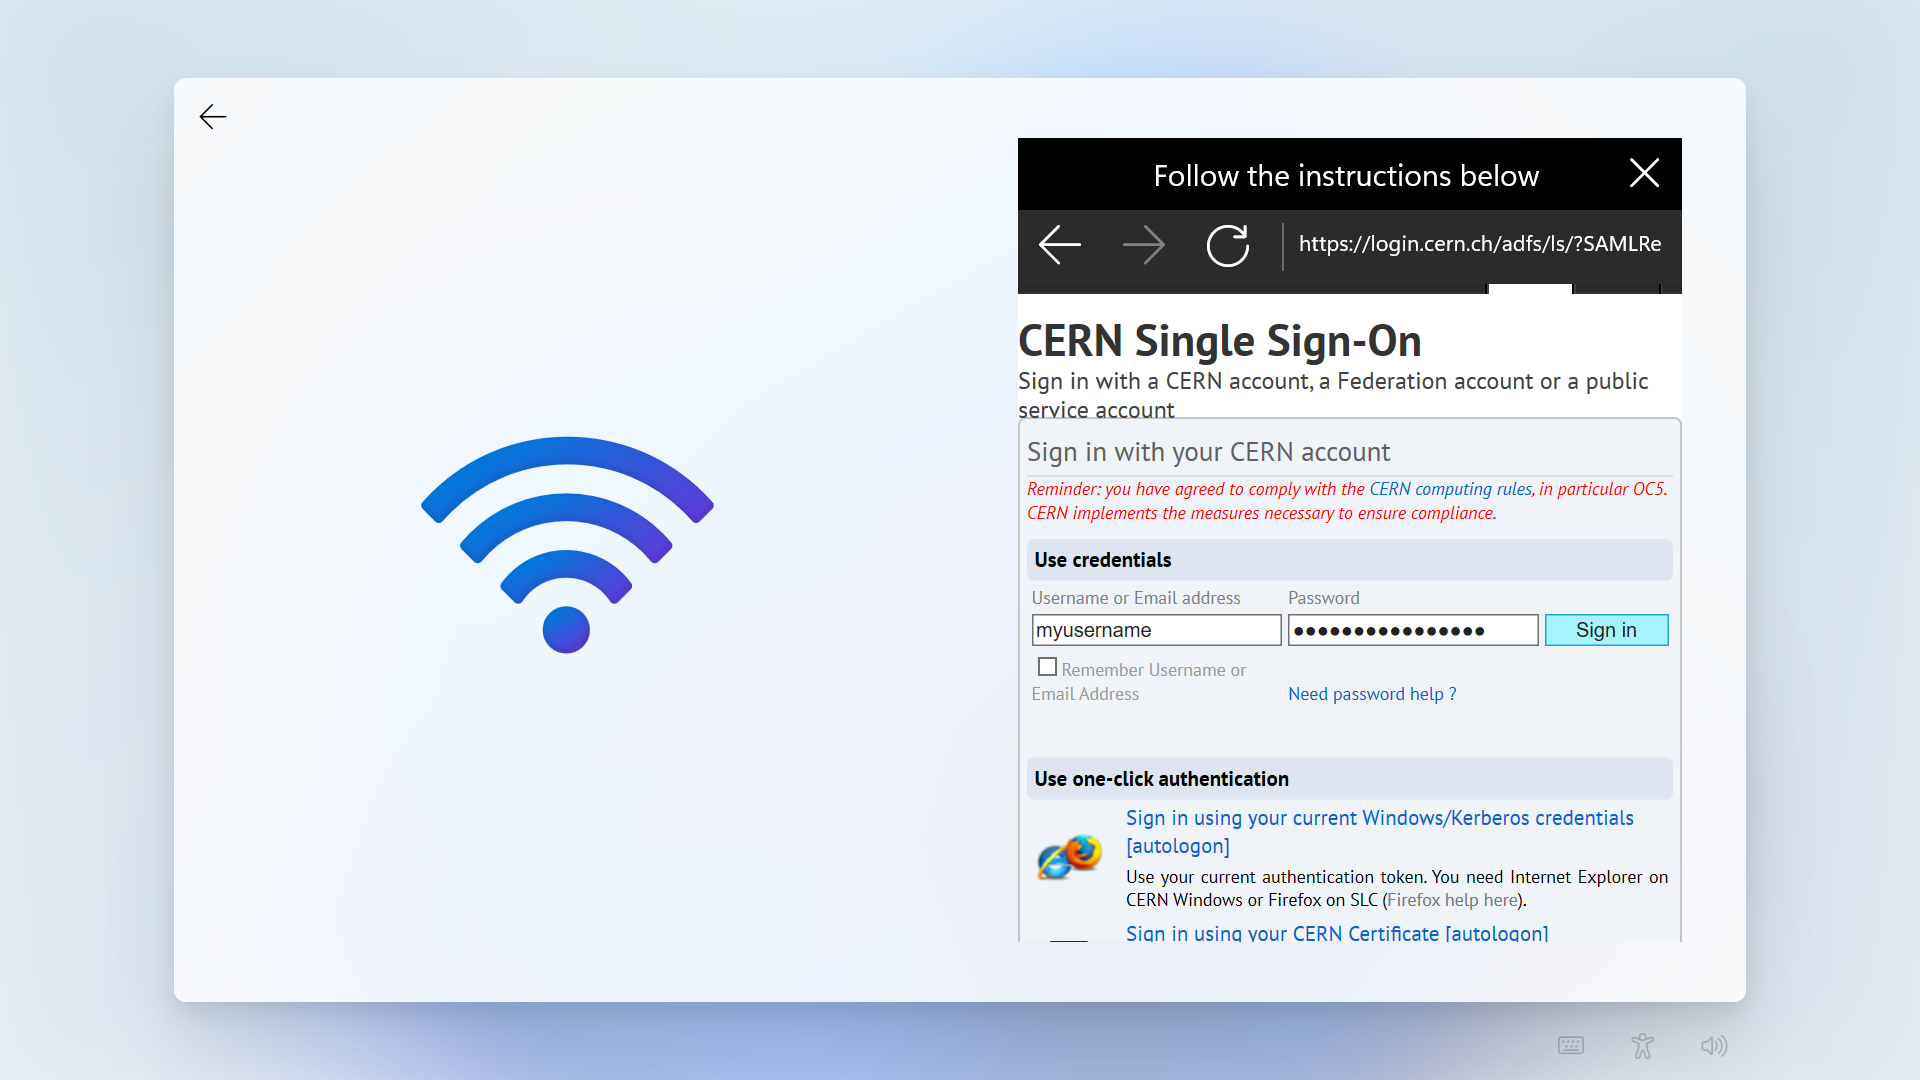
Provide your CERN account credentials and click `Sign In`.
---
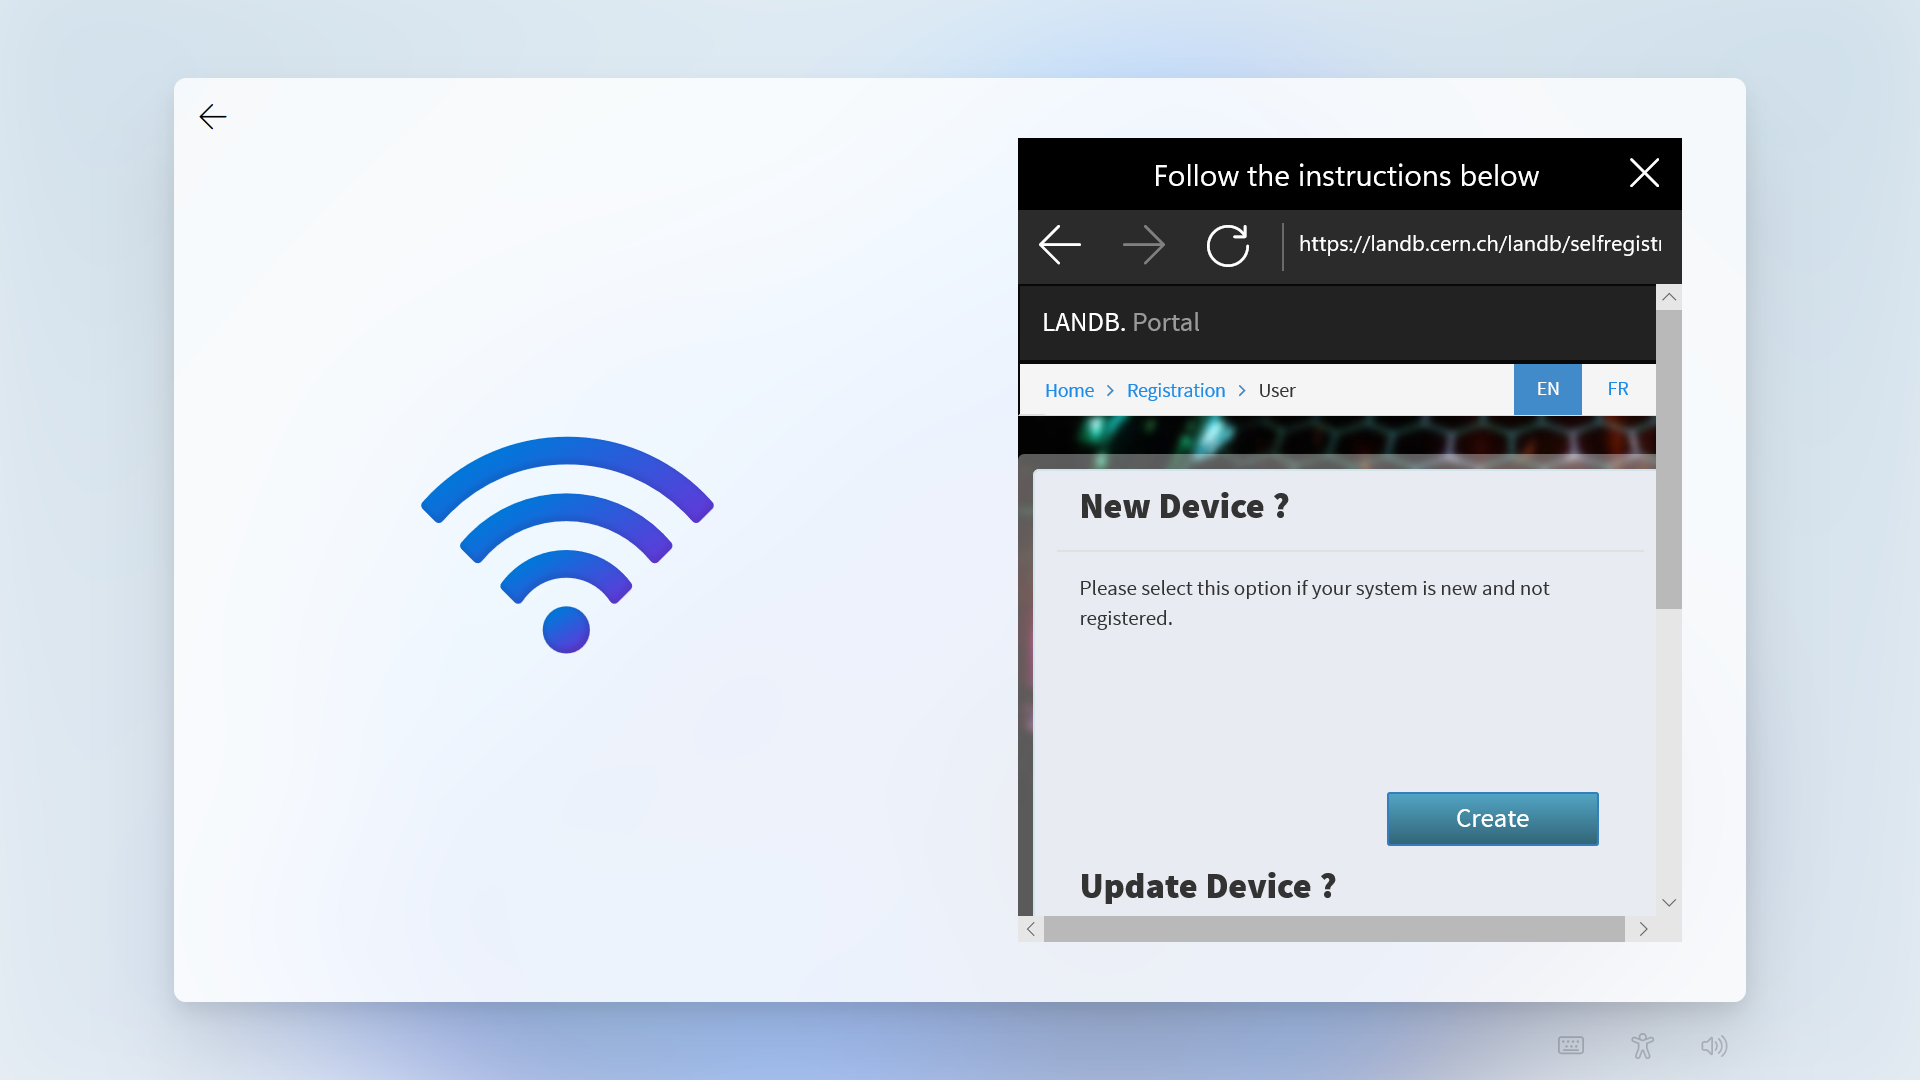
Click on the `Create` button under the *New Device* section.
---
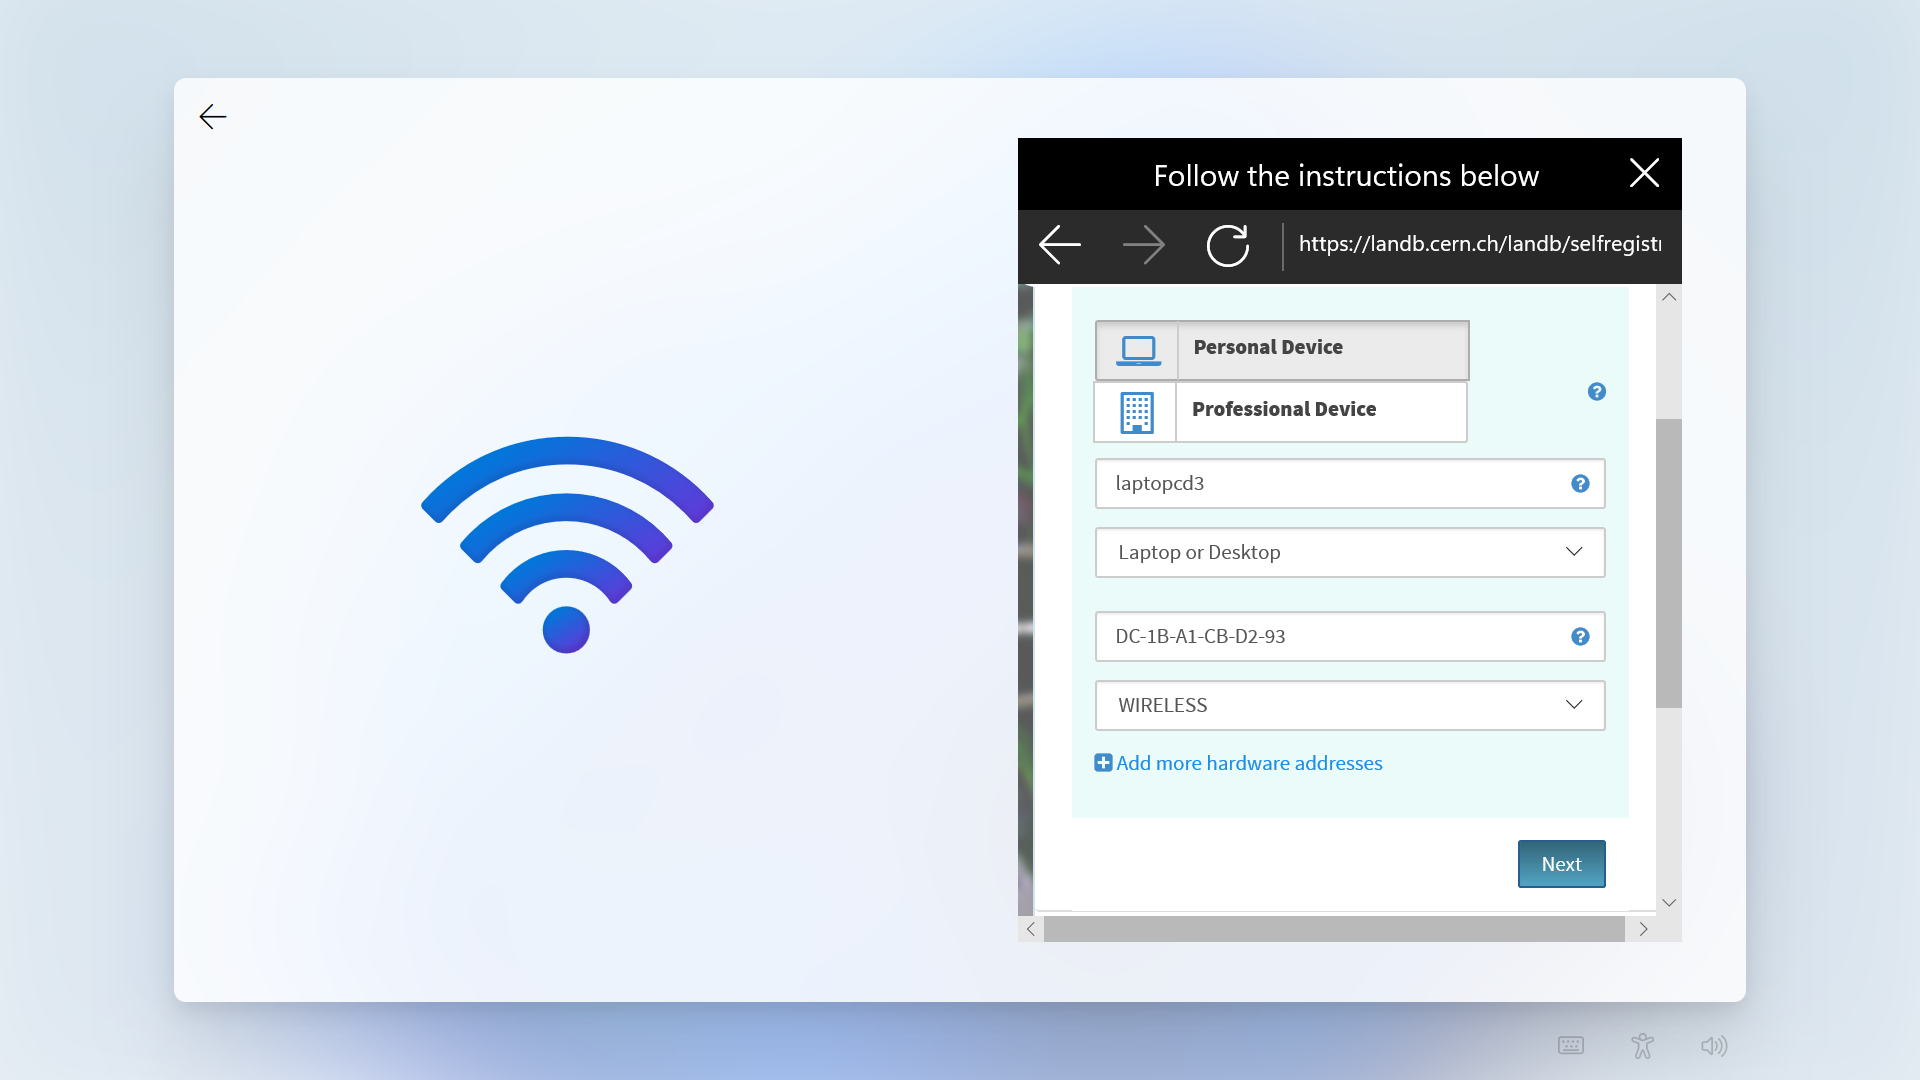
If this device was bought from CERN, choose `Professional Device`. **Note down** and type a name for your device. The network (MAC) address should be automatically filled, otherwise it should be written on a sticker attached to your new device.
---
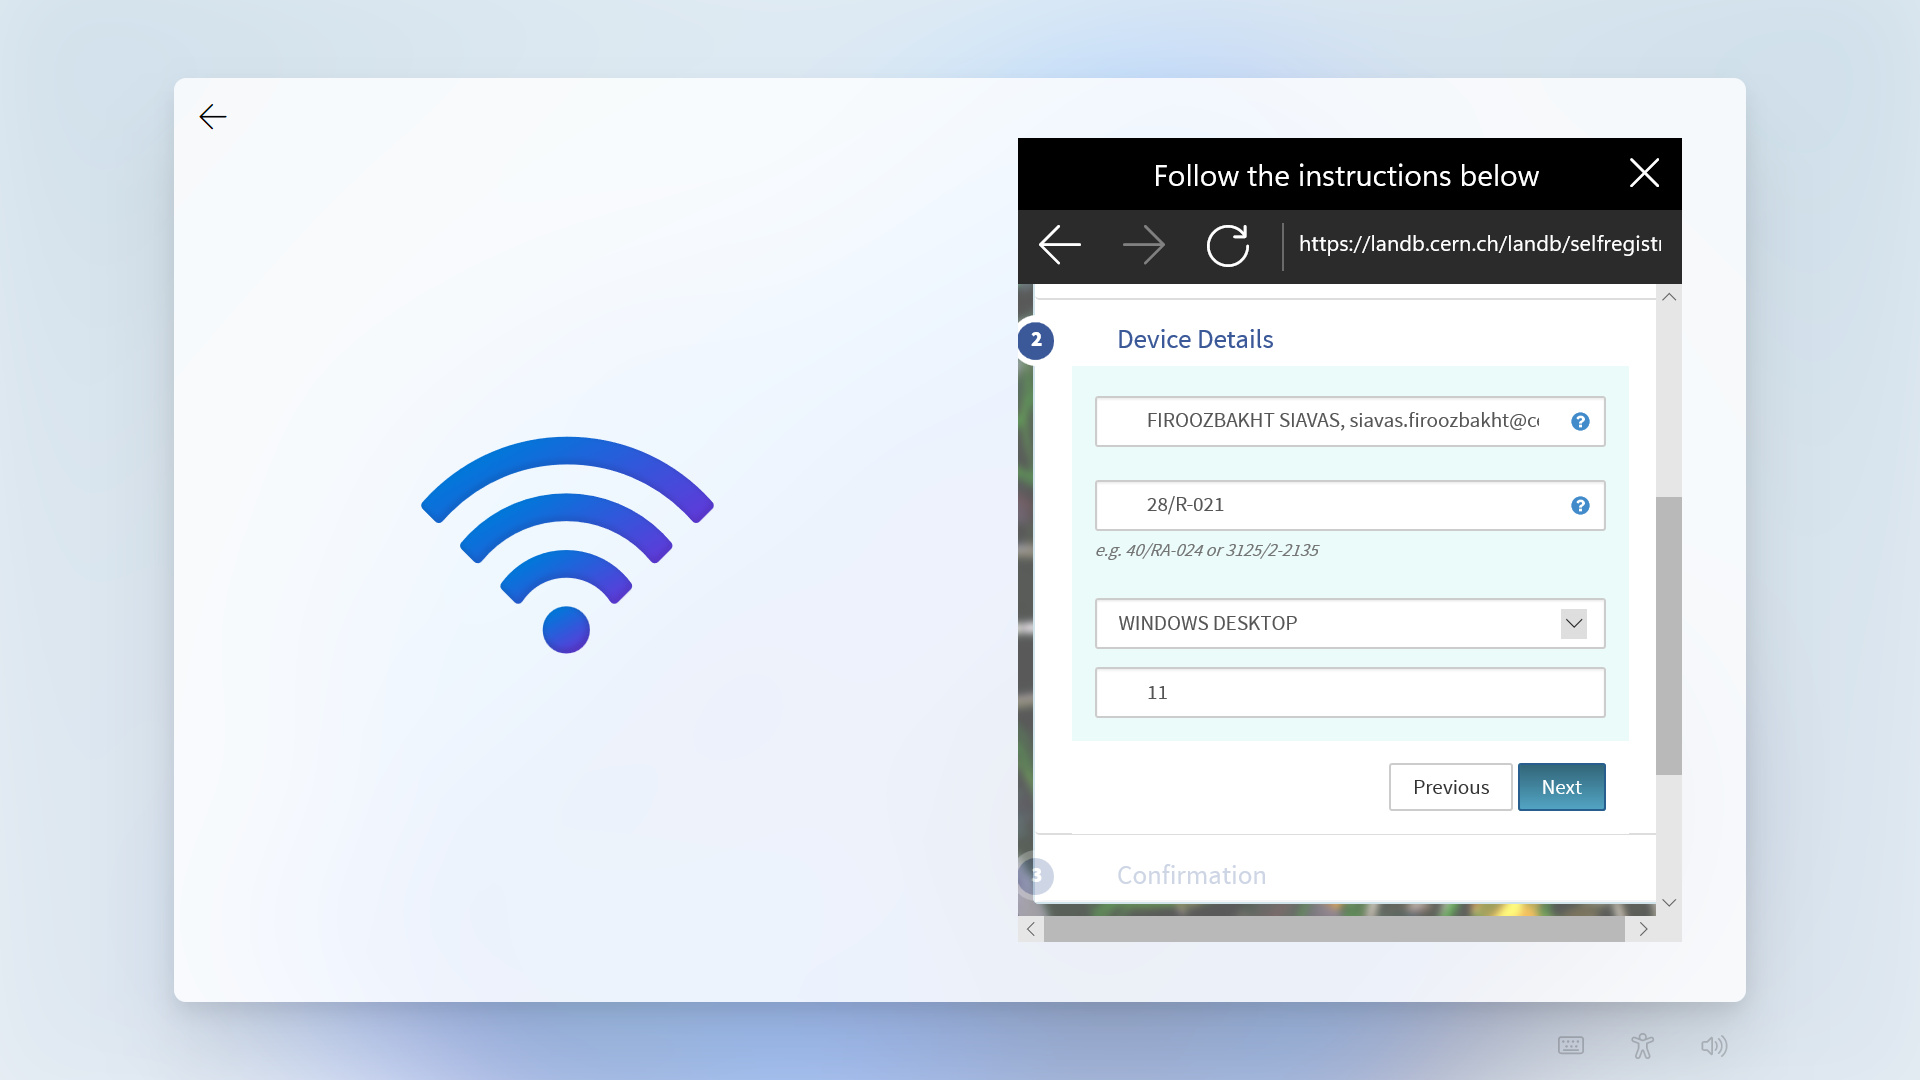
Your name should be filled in automatically, making you the responsible and administrator of the device. Please provide it yourself otherwise, and type the Operating System as `WINDOWS DESKTOP` and Version as `11`.
---
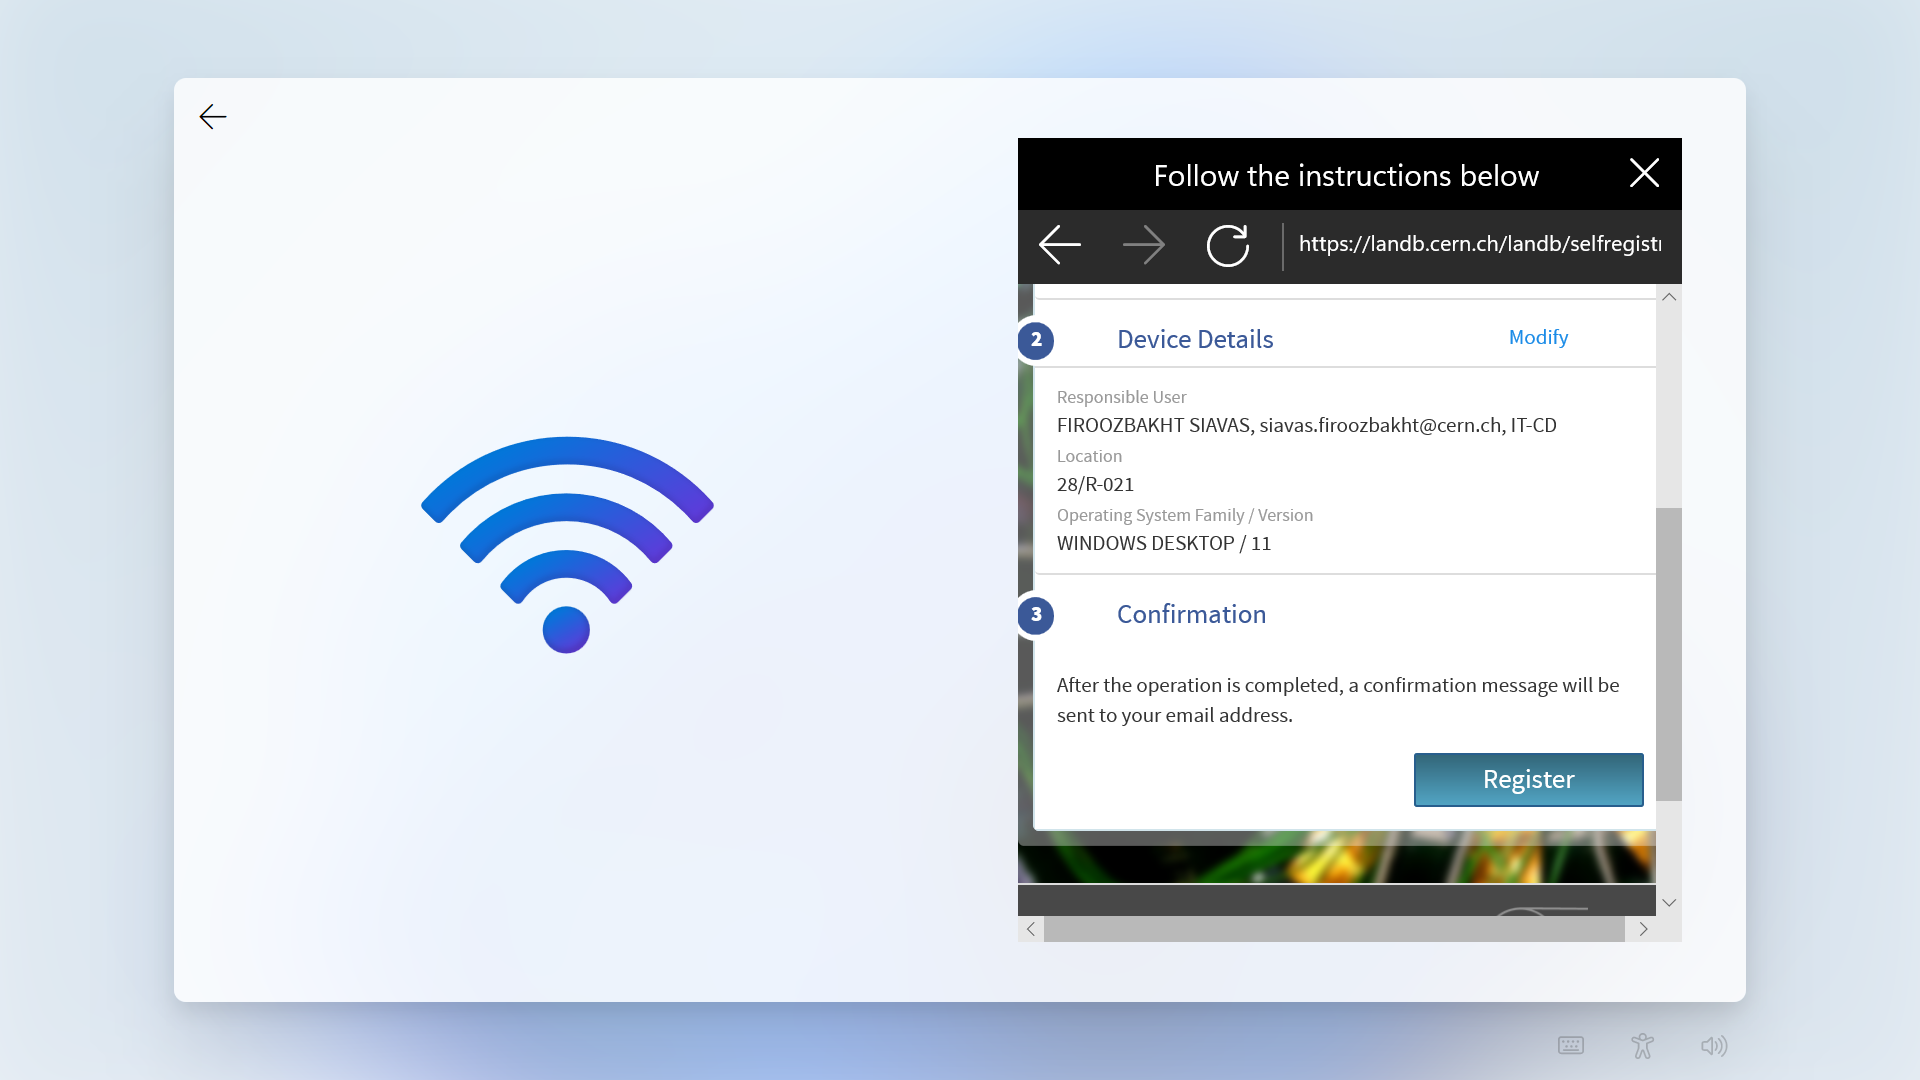
Confirm the details you have entered by clicking on `Register`
---
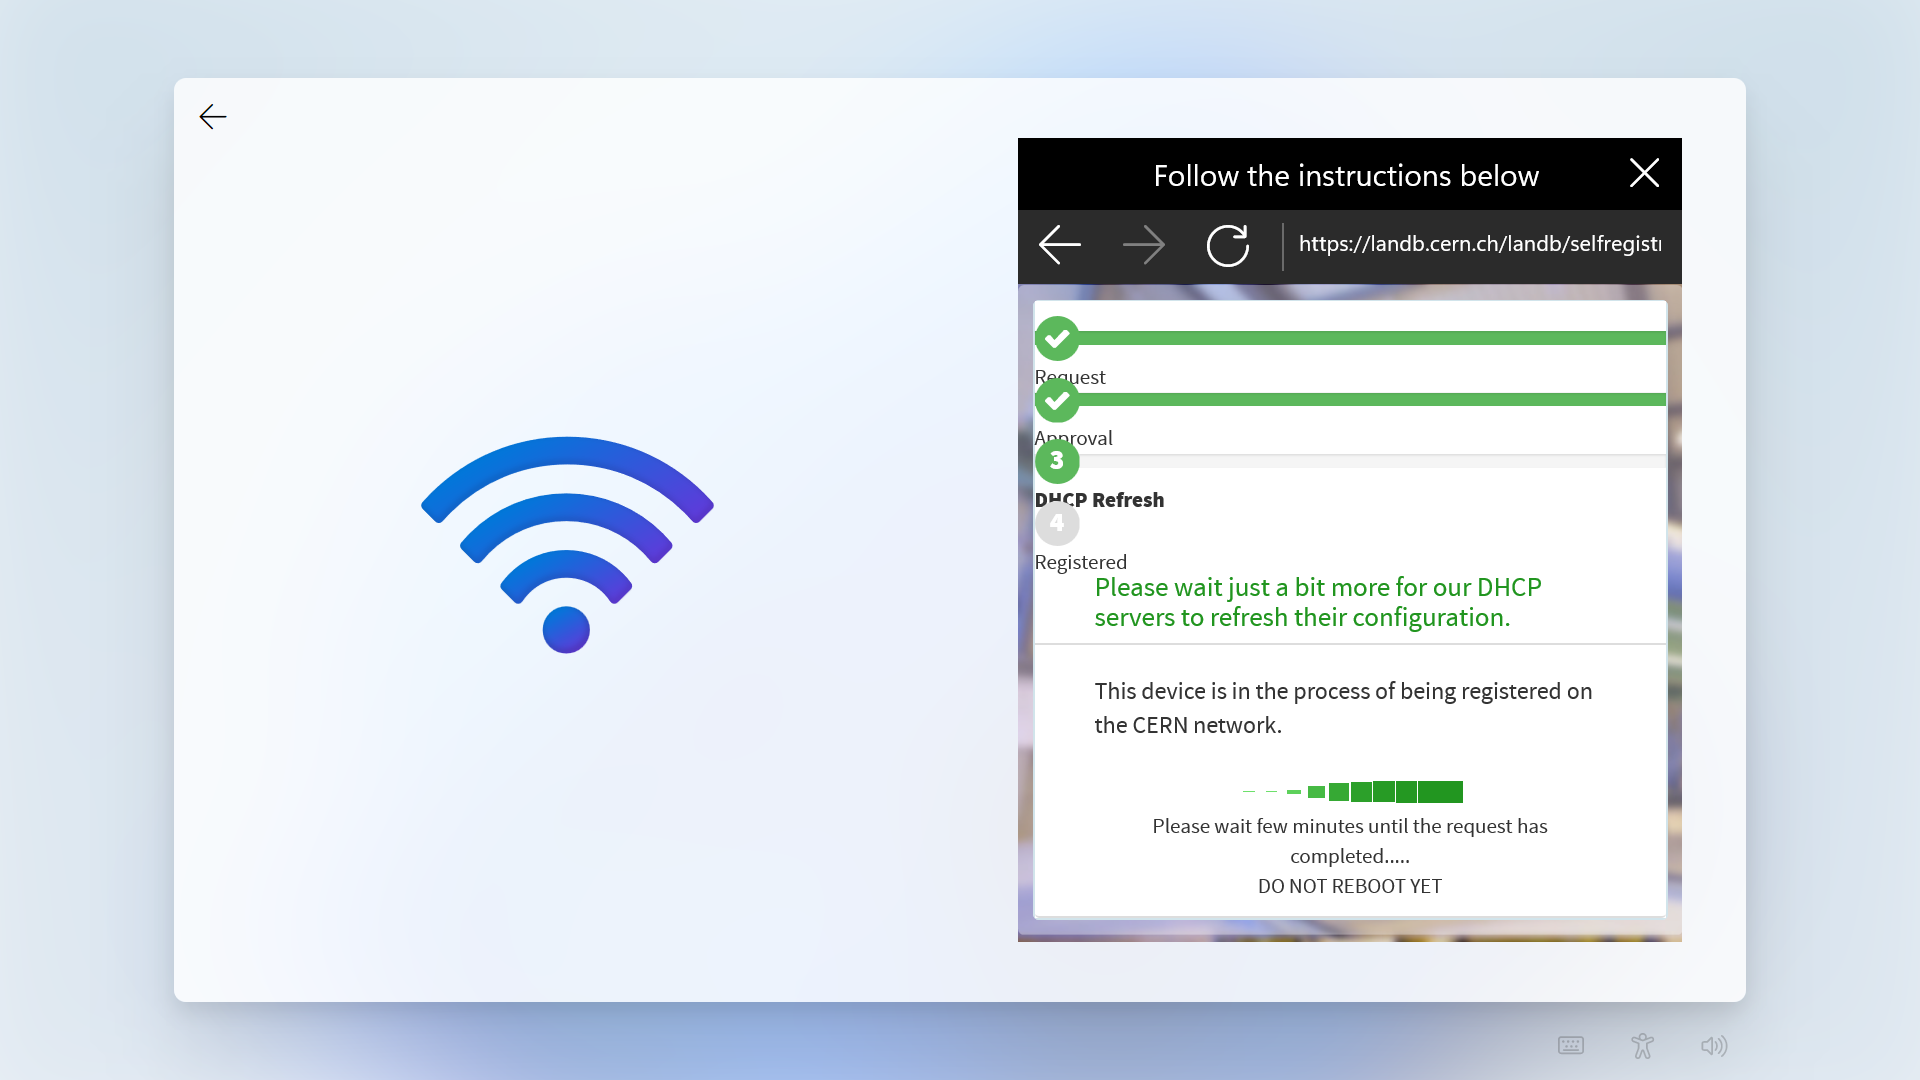
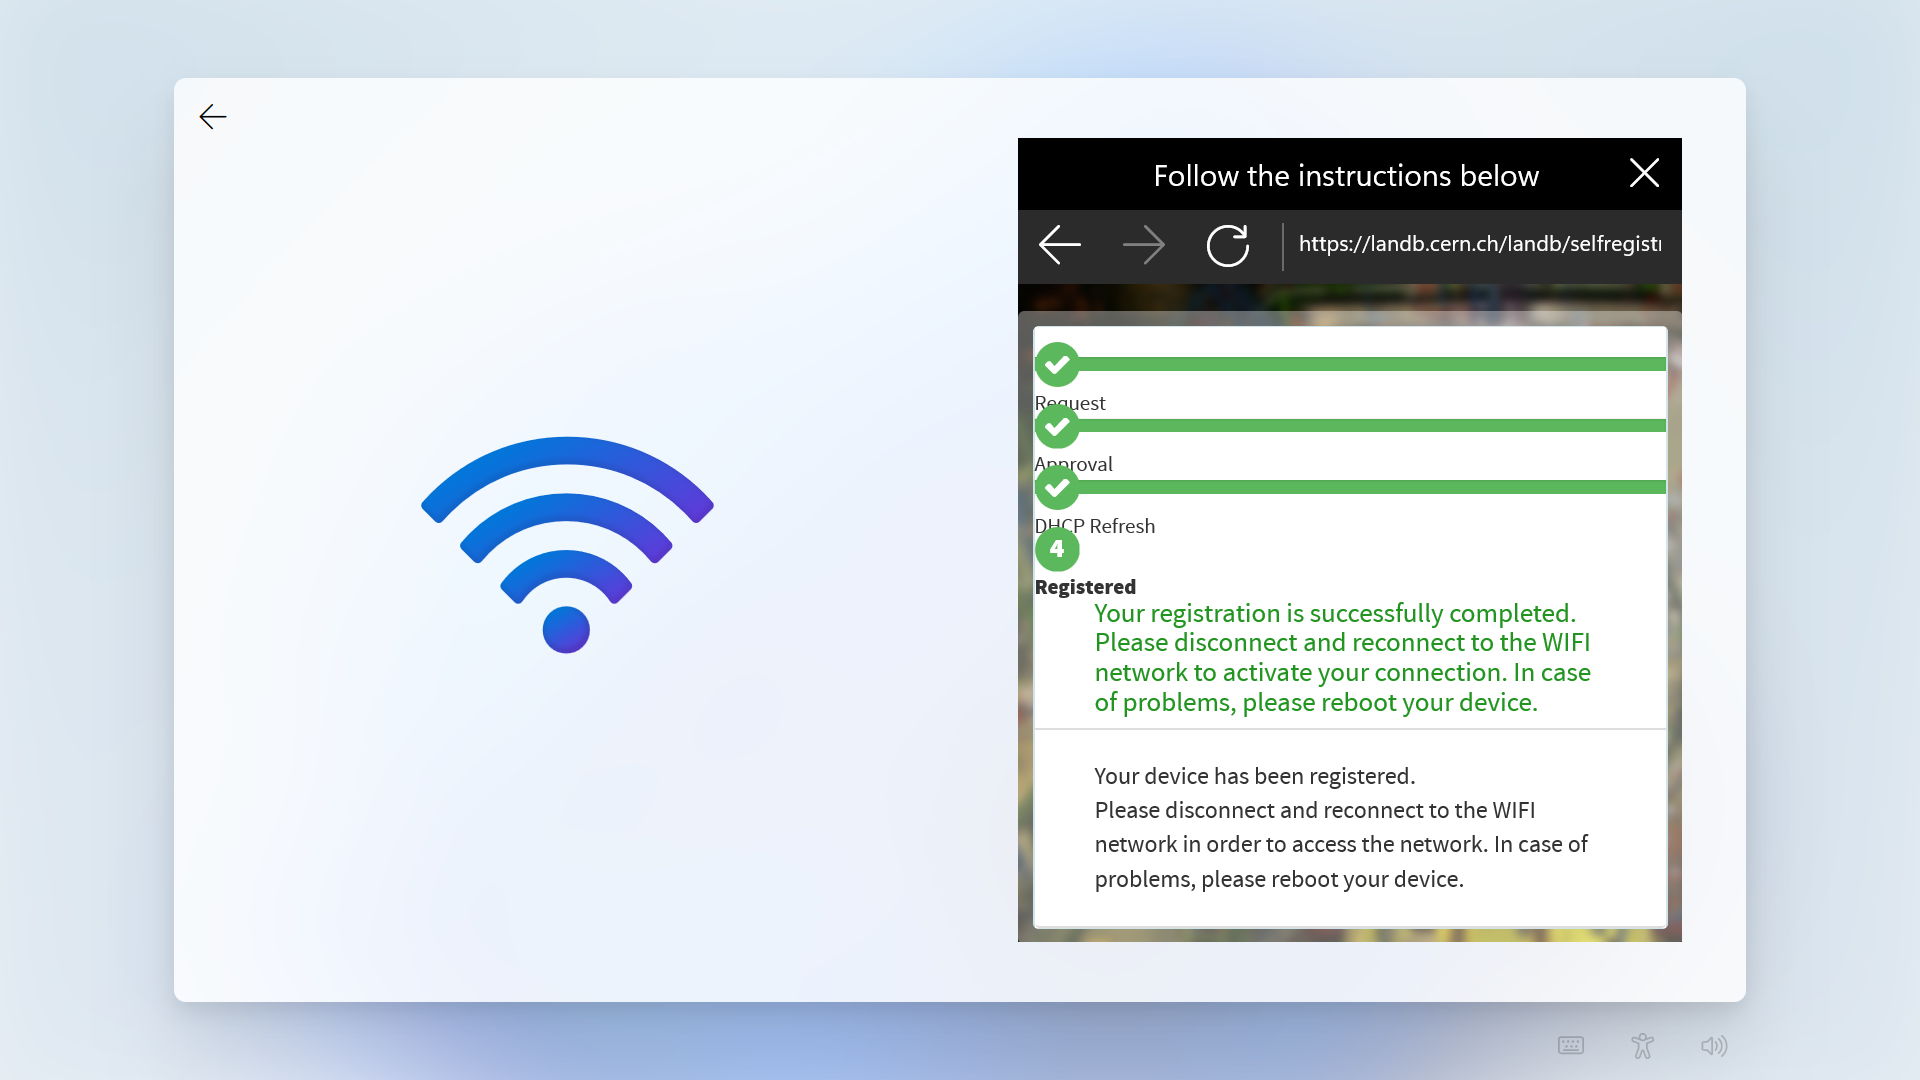
Please wait until your device is fully registered, which may take a couple of minutes.
---
Once you see the registration complete message, please click on the `X` button in the top right corner.
---
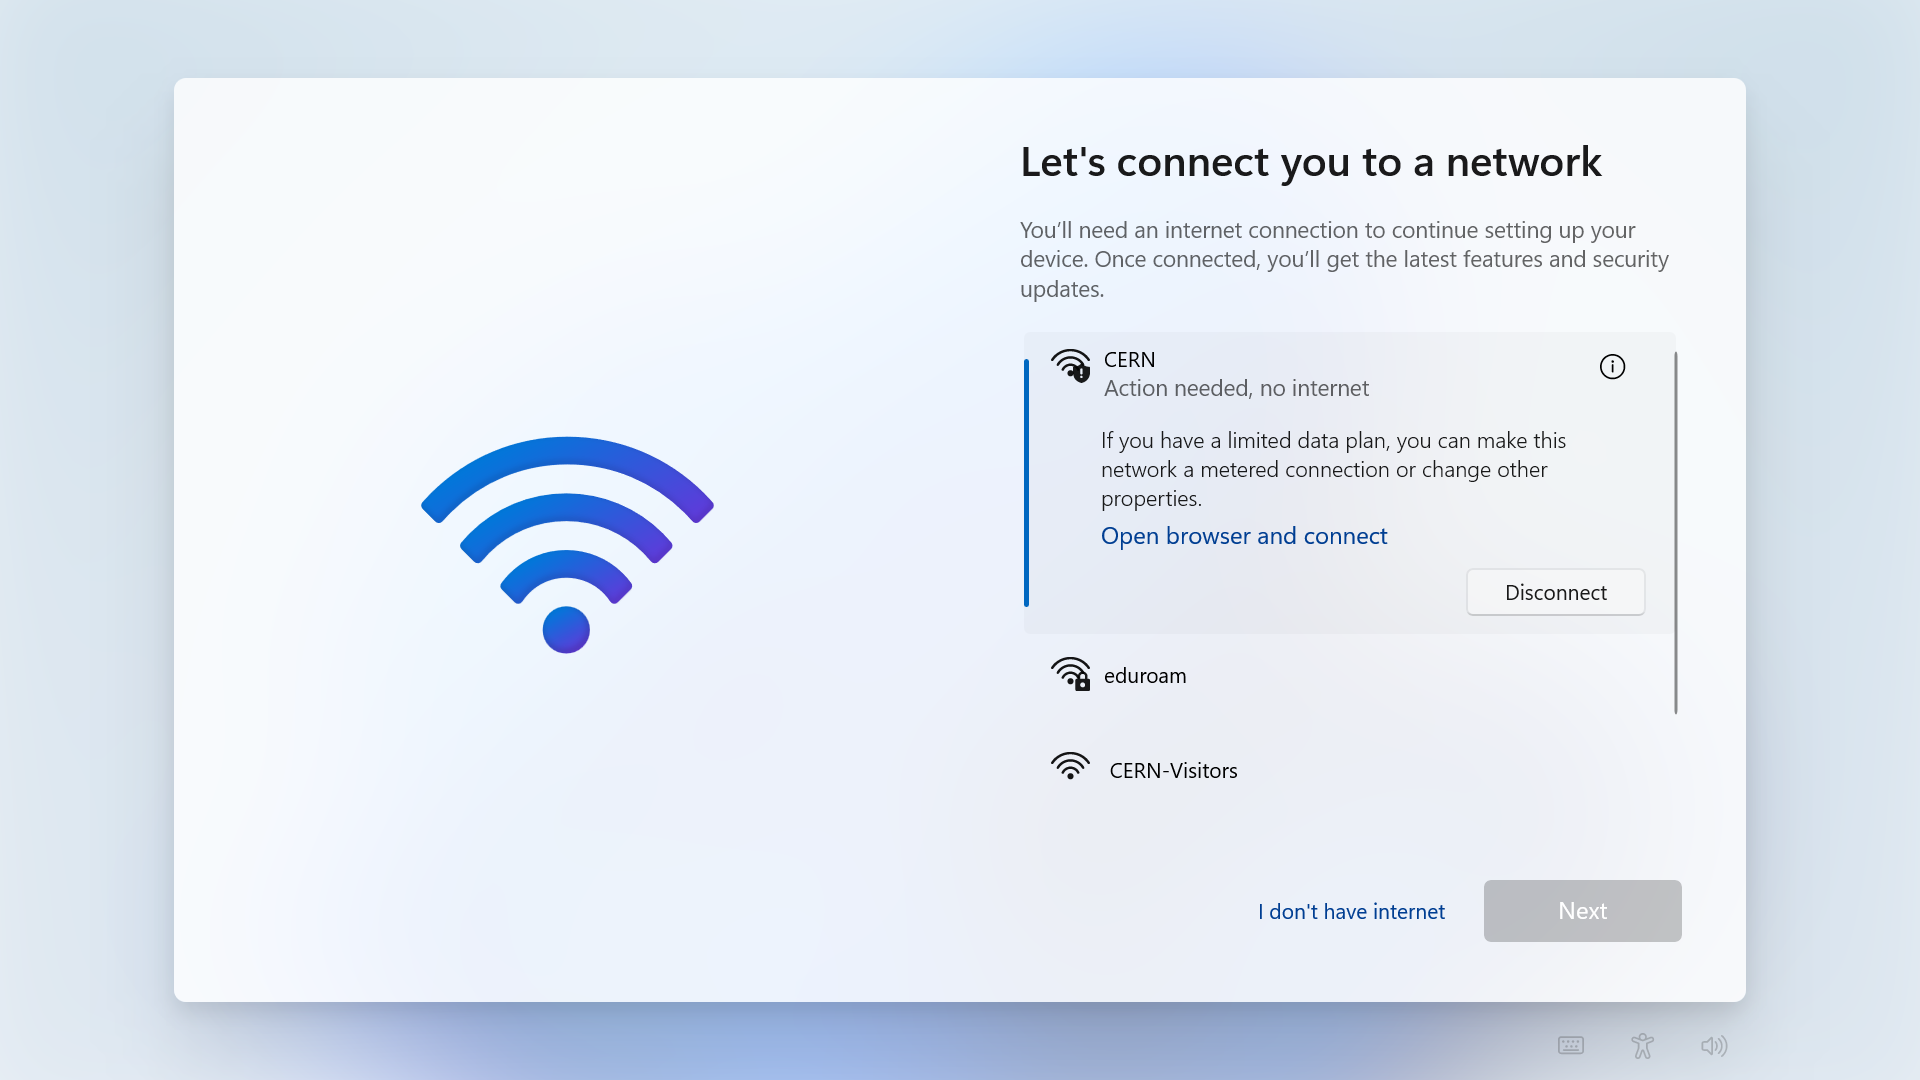
You will then be taken back to the network connection step. Please click on `Disconnect`, then `Connect` back to the CERN network.
---
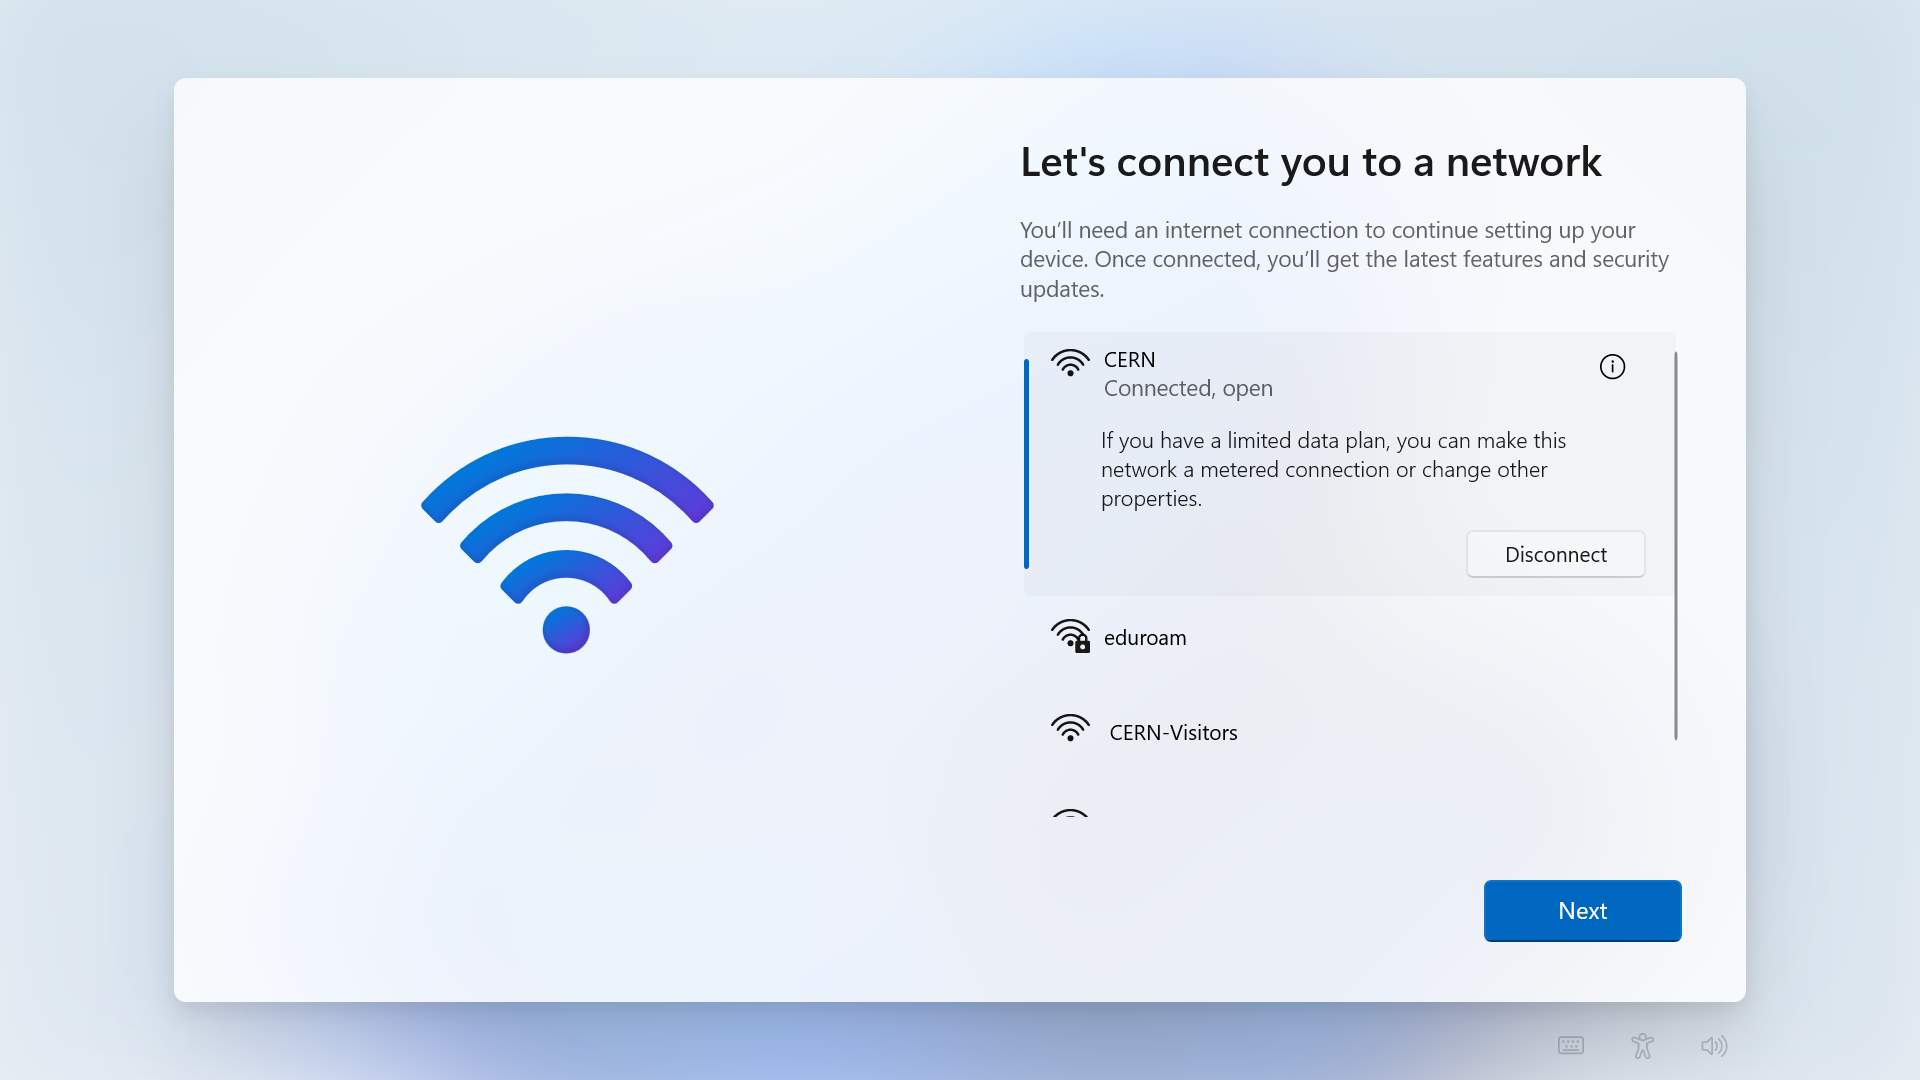
This time, the status of the connection will be `Connected` instead of `Action needed, no internet`. Otherwise, please retry reconnecting or restart your device.
---
Please wait for the latest updates to be installed on your machine, after which your device may restart.

---
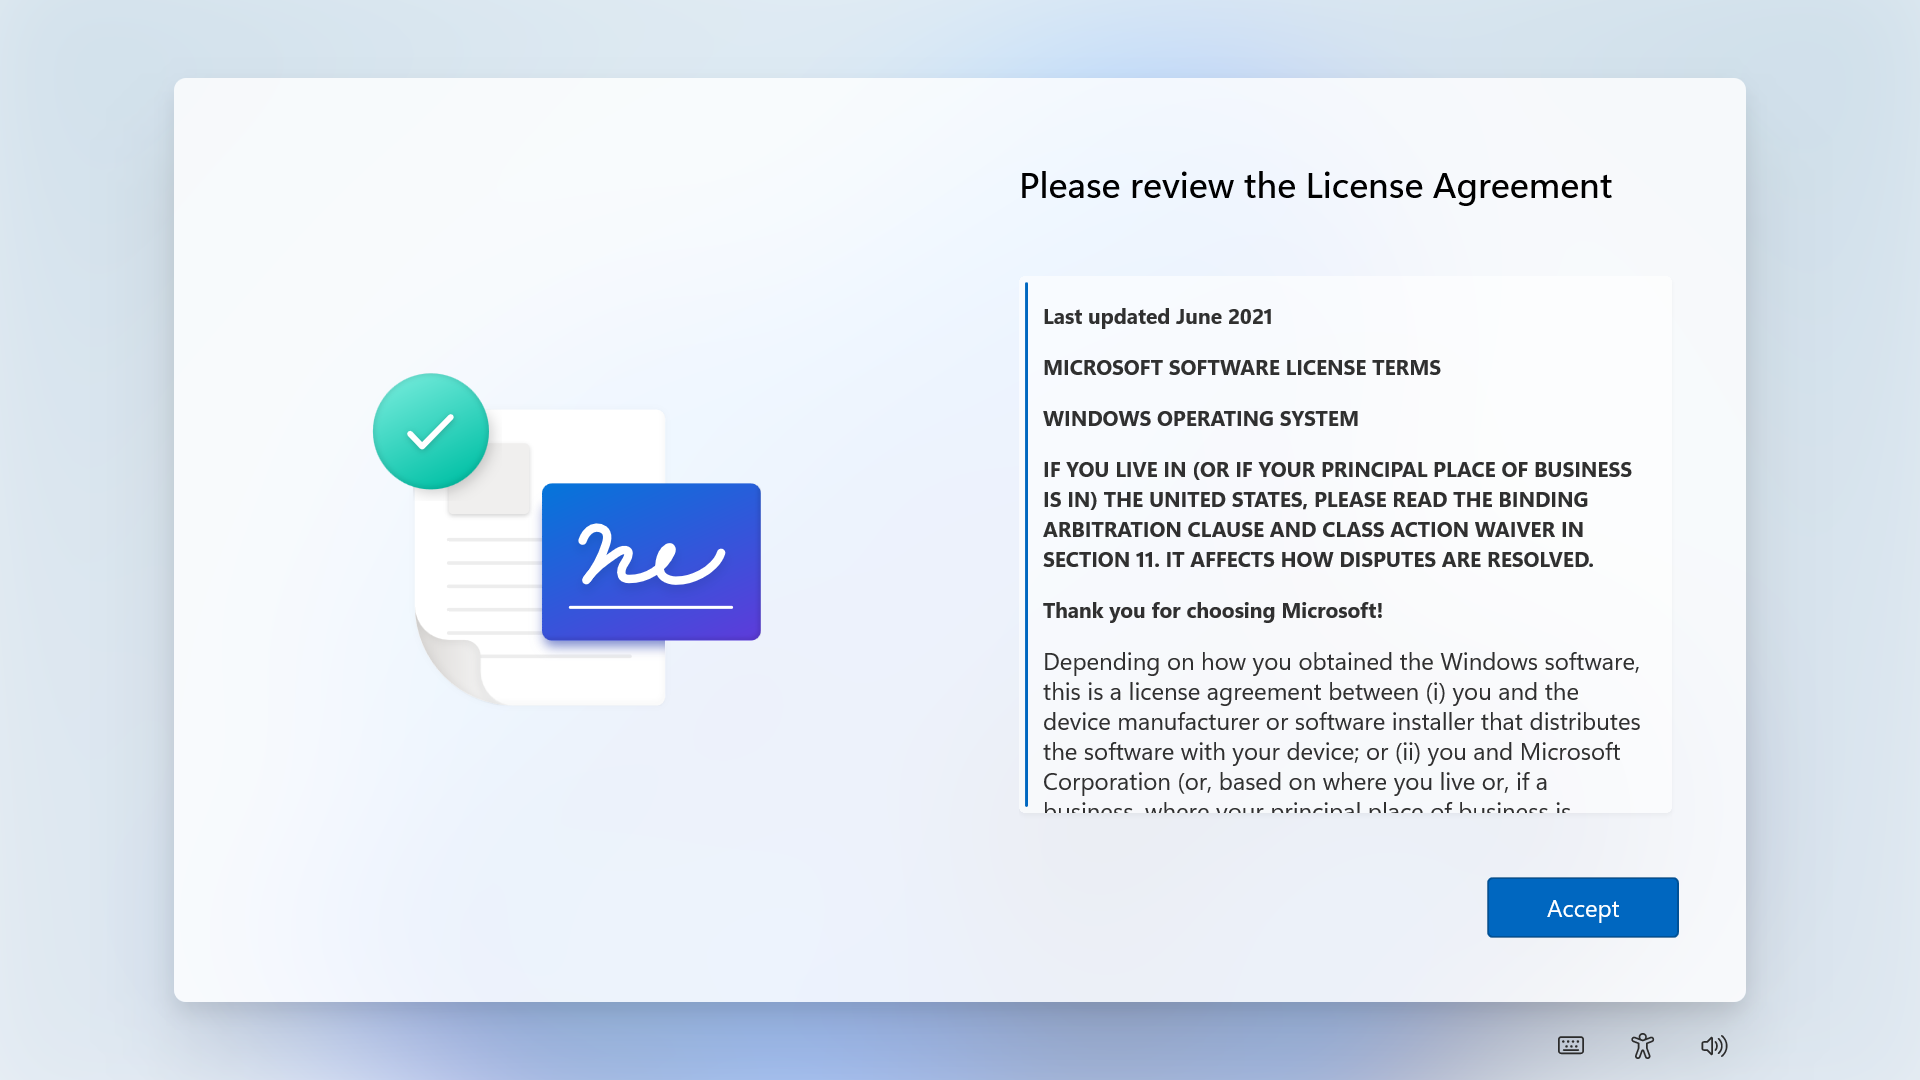
You need to read and agree to the Microsoft License Agreement.
---
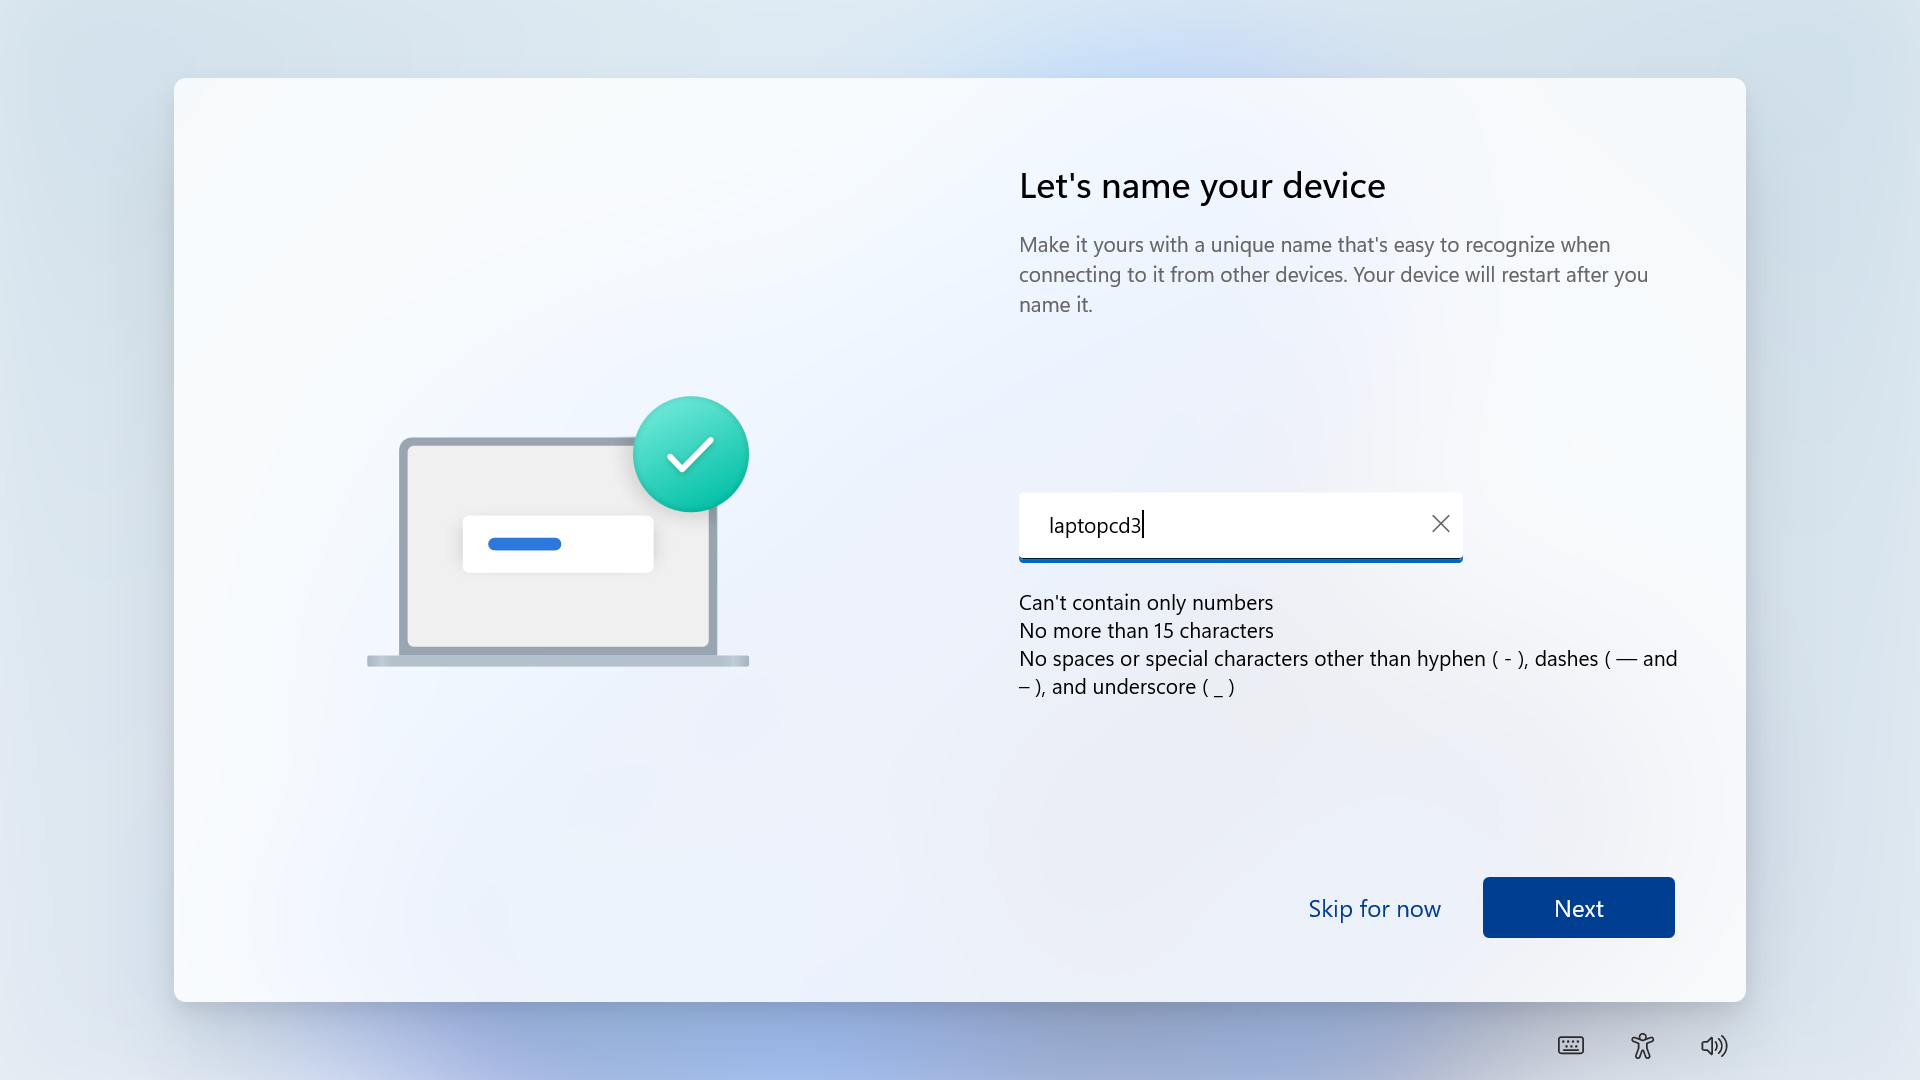
Type a name for your device, ideally the same that you previously noted down during the network registration.
---
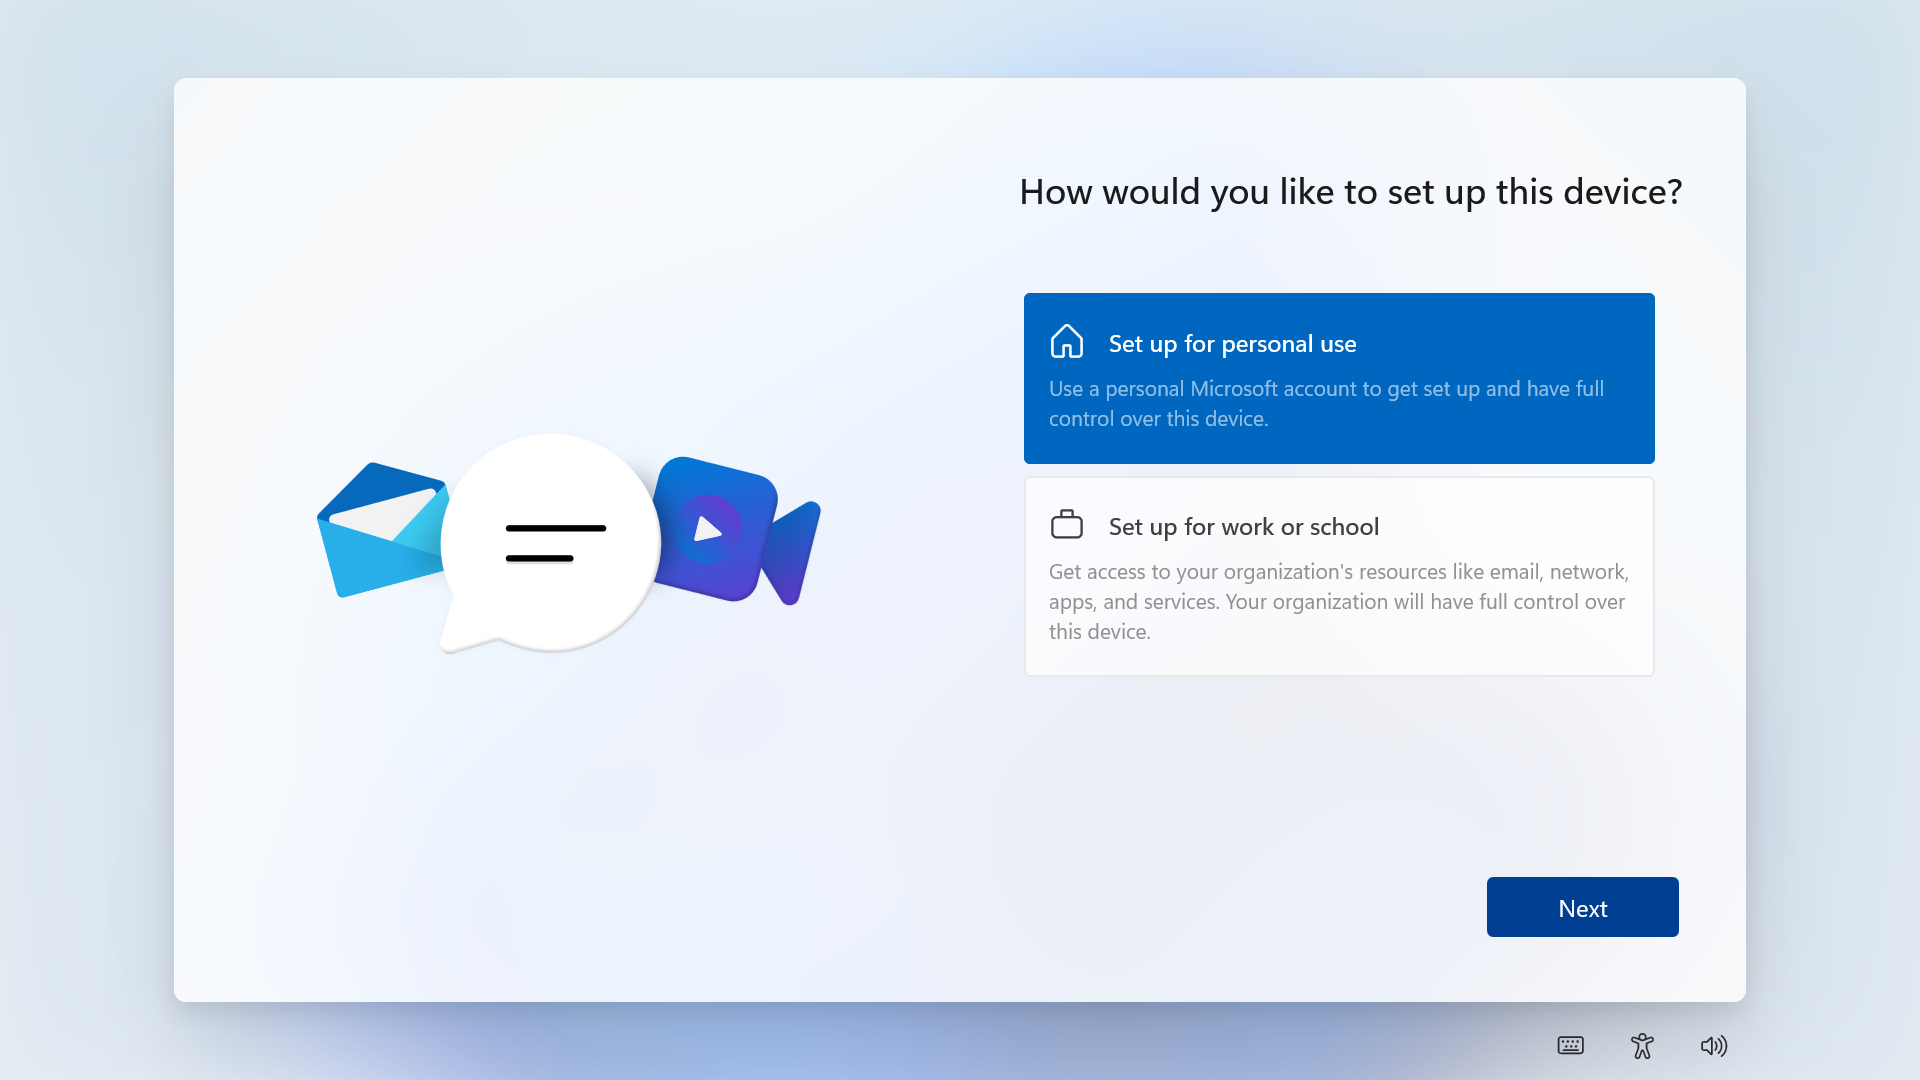
Choose `Setup for personal use`, regardless if this device is purchased from CERN or of the management model desired.
---
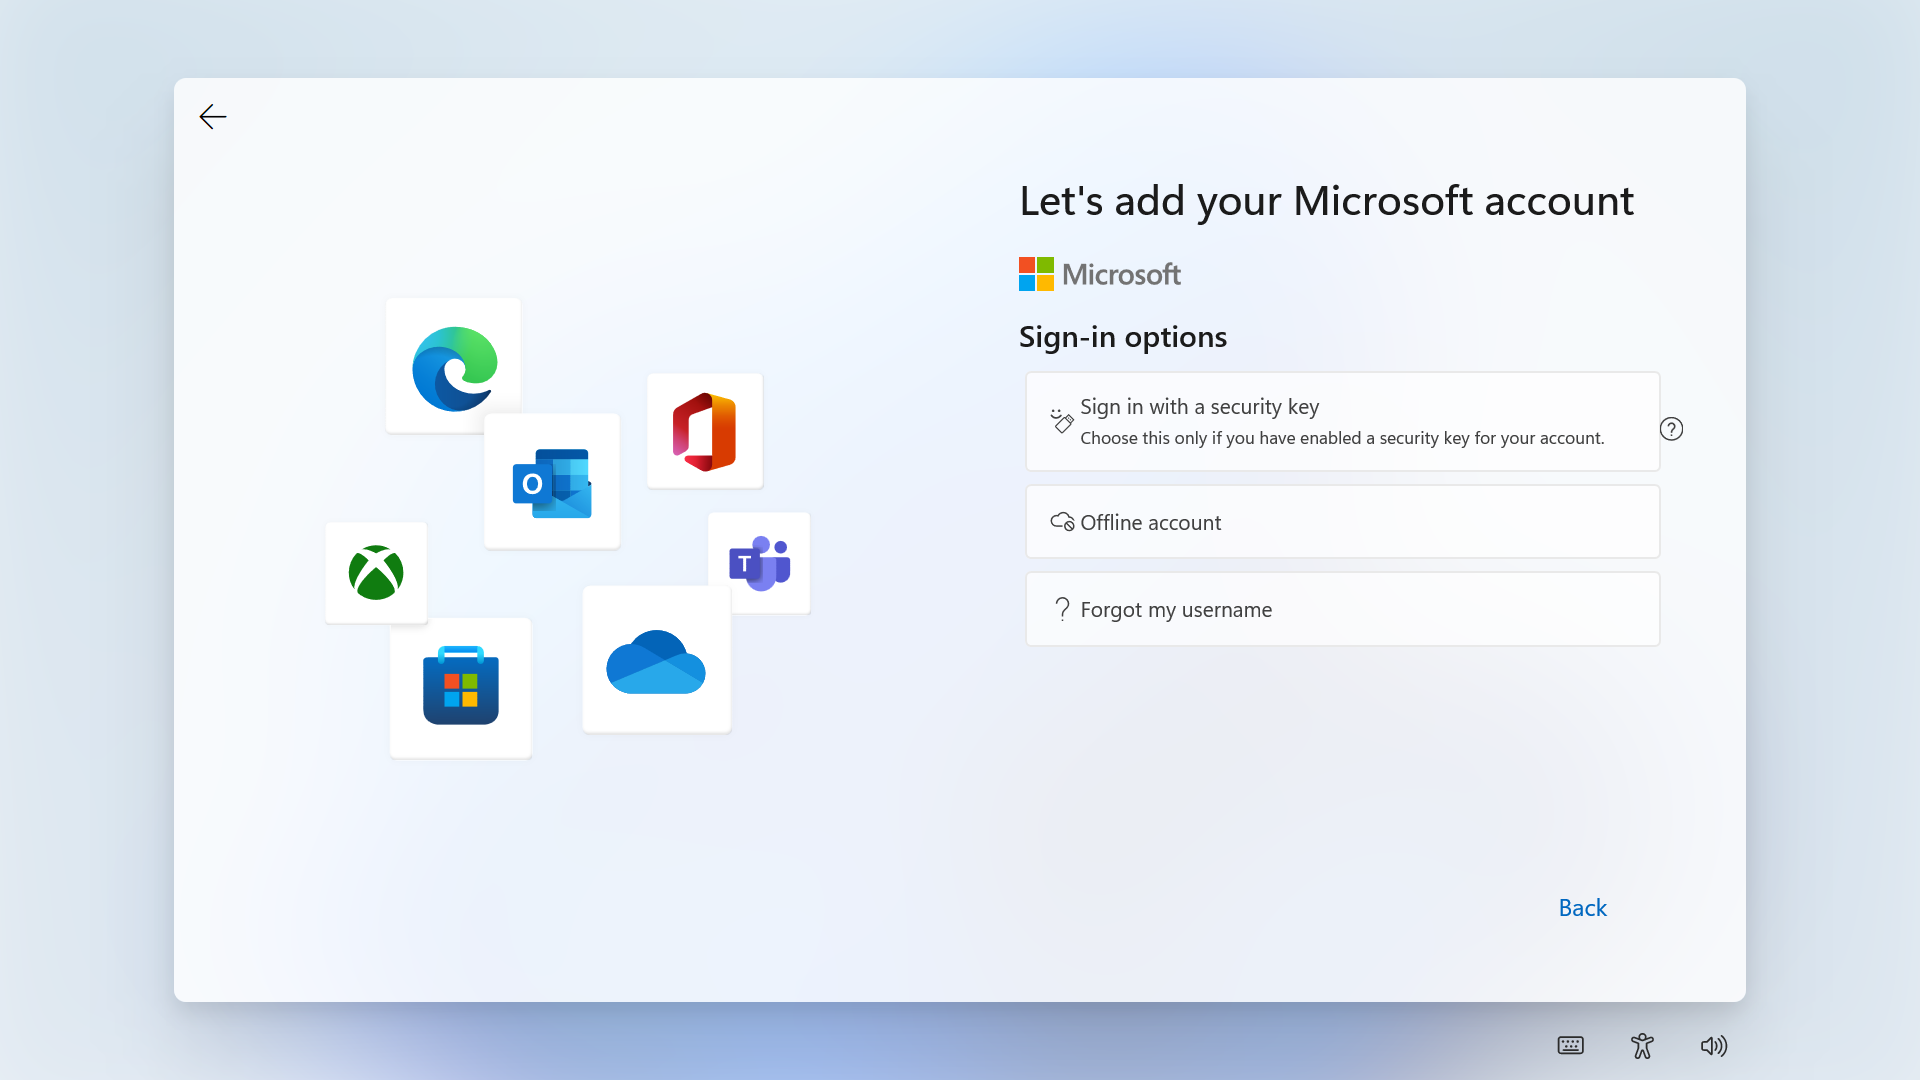
Choose `Offline Account`.
---
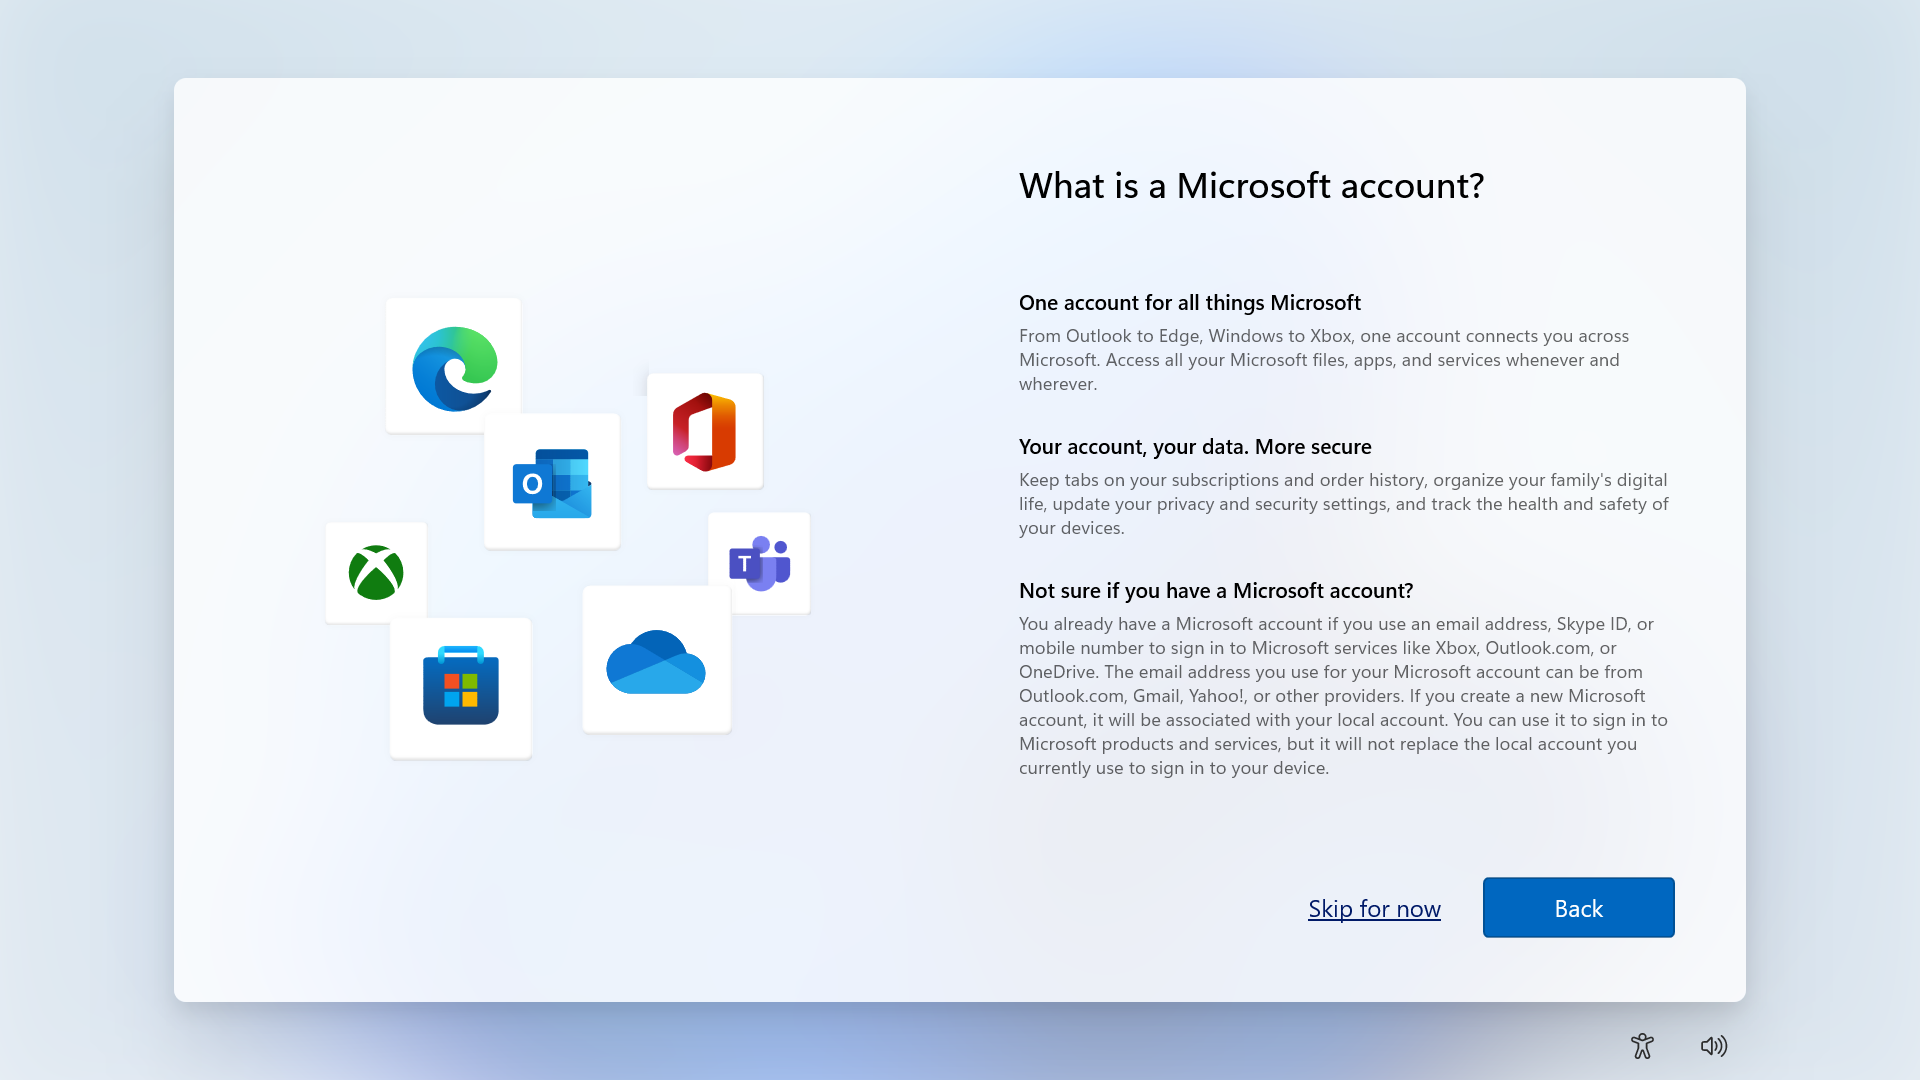
Click on `Skip for now`.
---
<!--  -->
<!-- --- -->
<!--  -->
<!-- --- -->
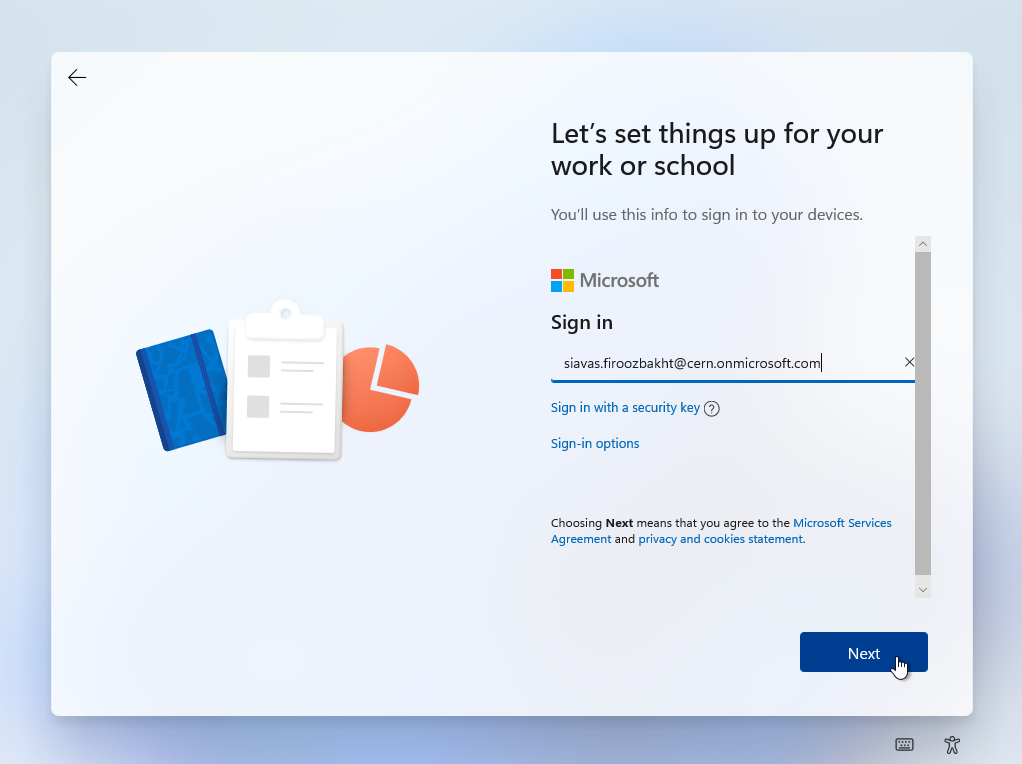
<!-- Click on the `Sign-in Options` link. -->
<!--  -->
<!-- --- -->
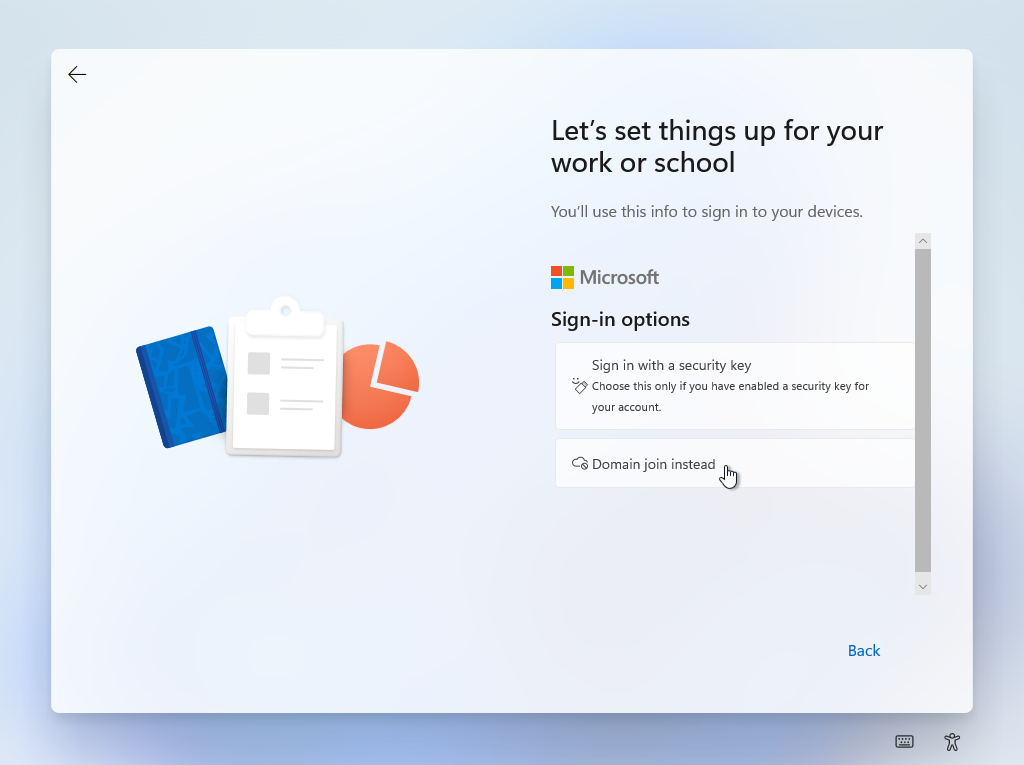
<!-- Then, choose `Domain join instead`. -->
<!--  -->
<!-- --- -->
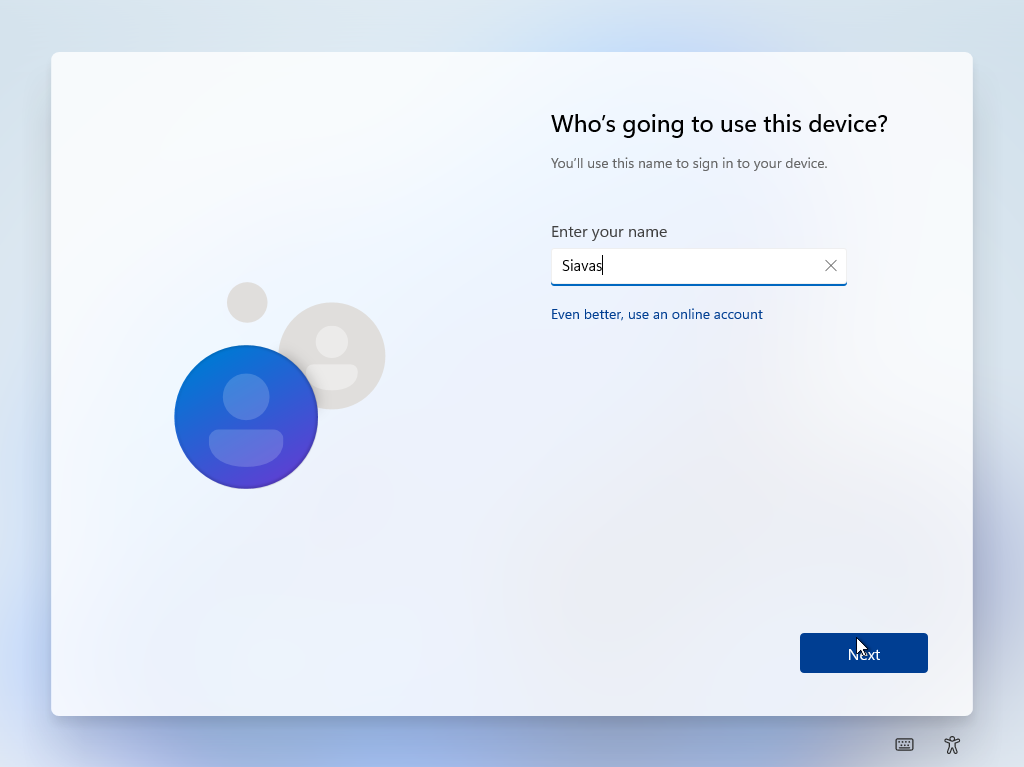
Provide a username for your local account. **It is recommended that you keep it different from your CERN username.**
---
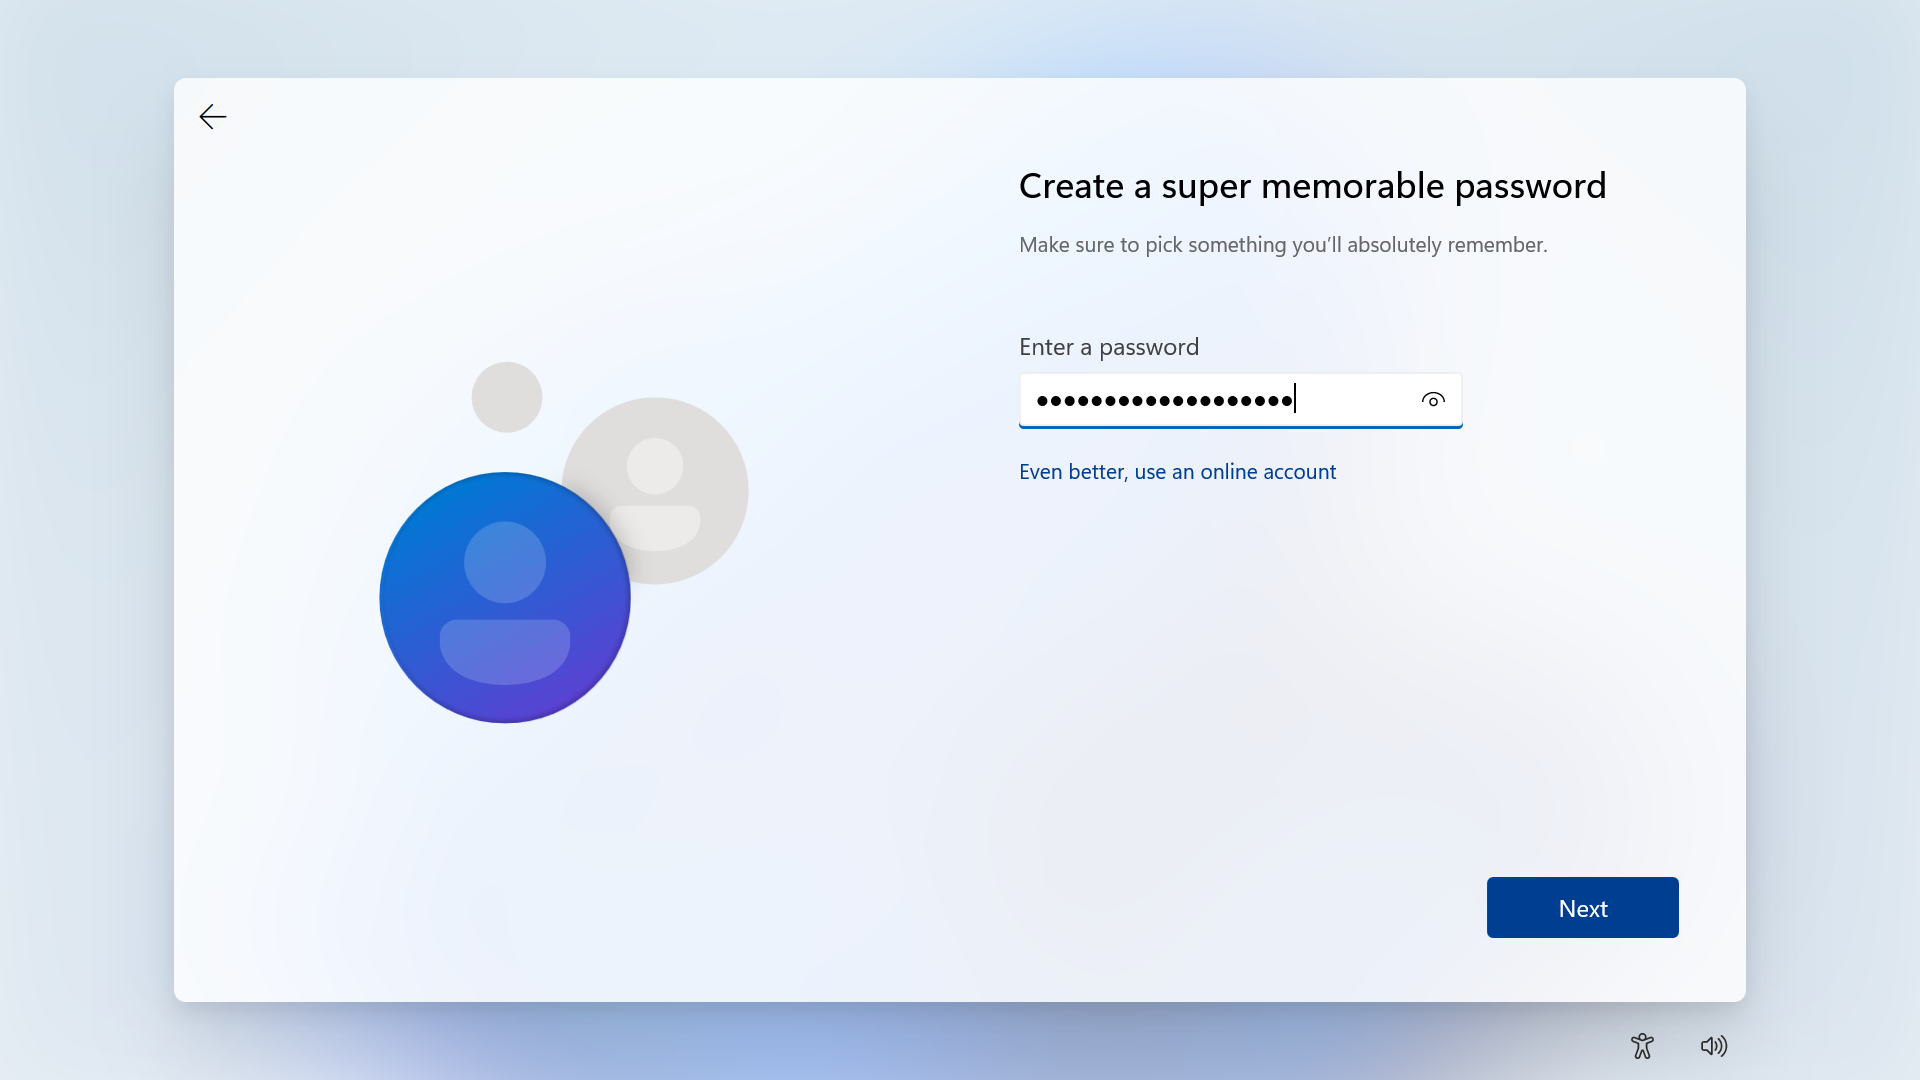
Provide a password for the local account.
---
Confirm the password.

---
For regaining access to your device when losing your password, set up three security questions.

---
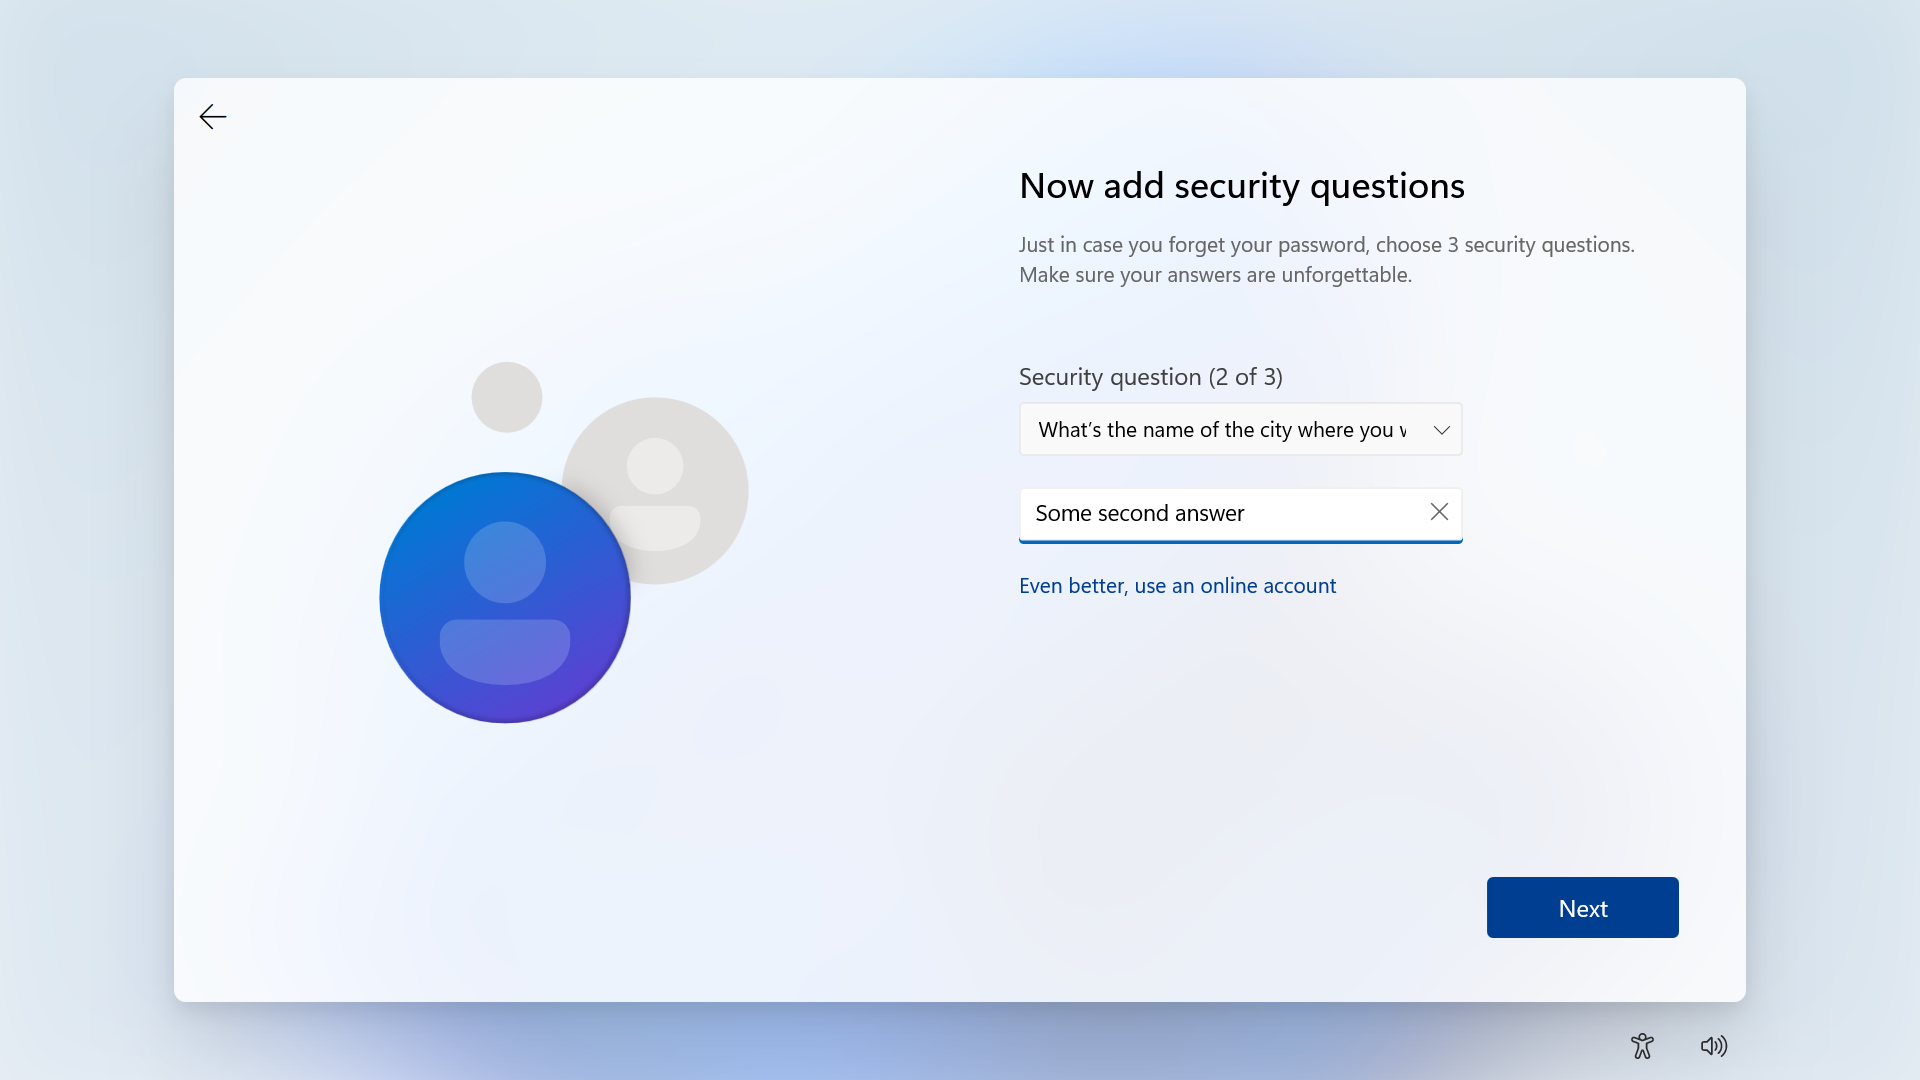
Provide the second security question & answer.
---
Provide the third security question & answer.

---
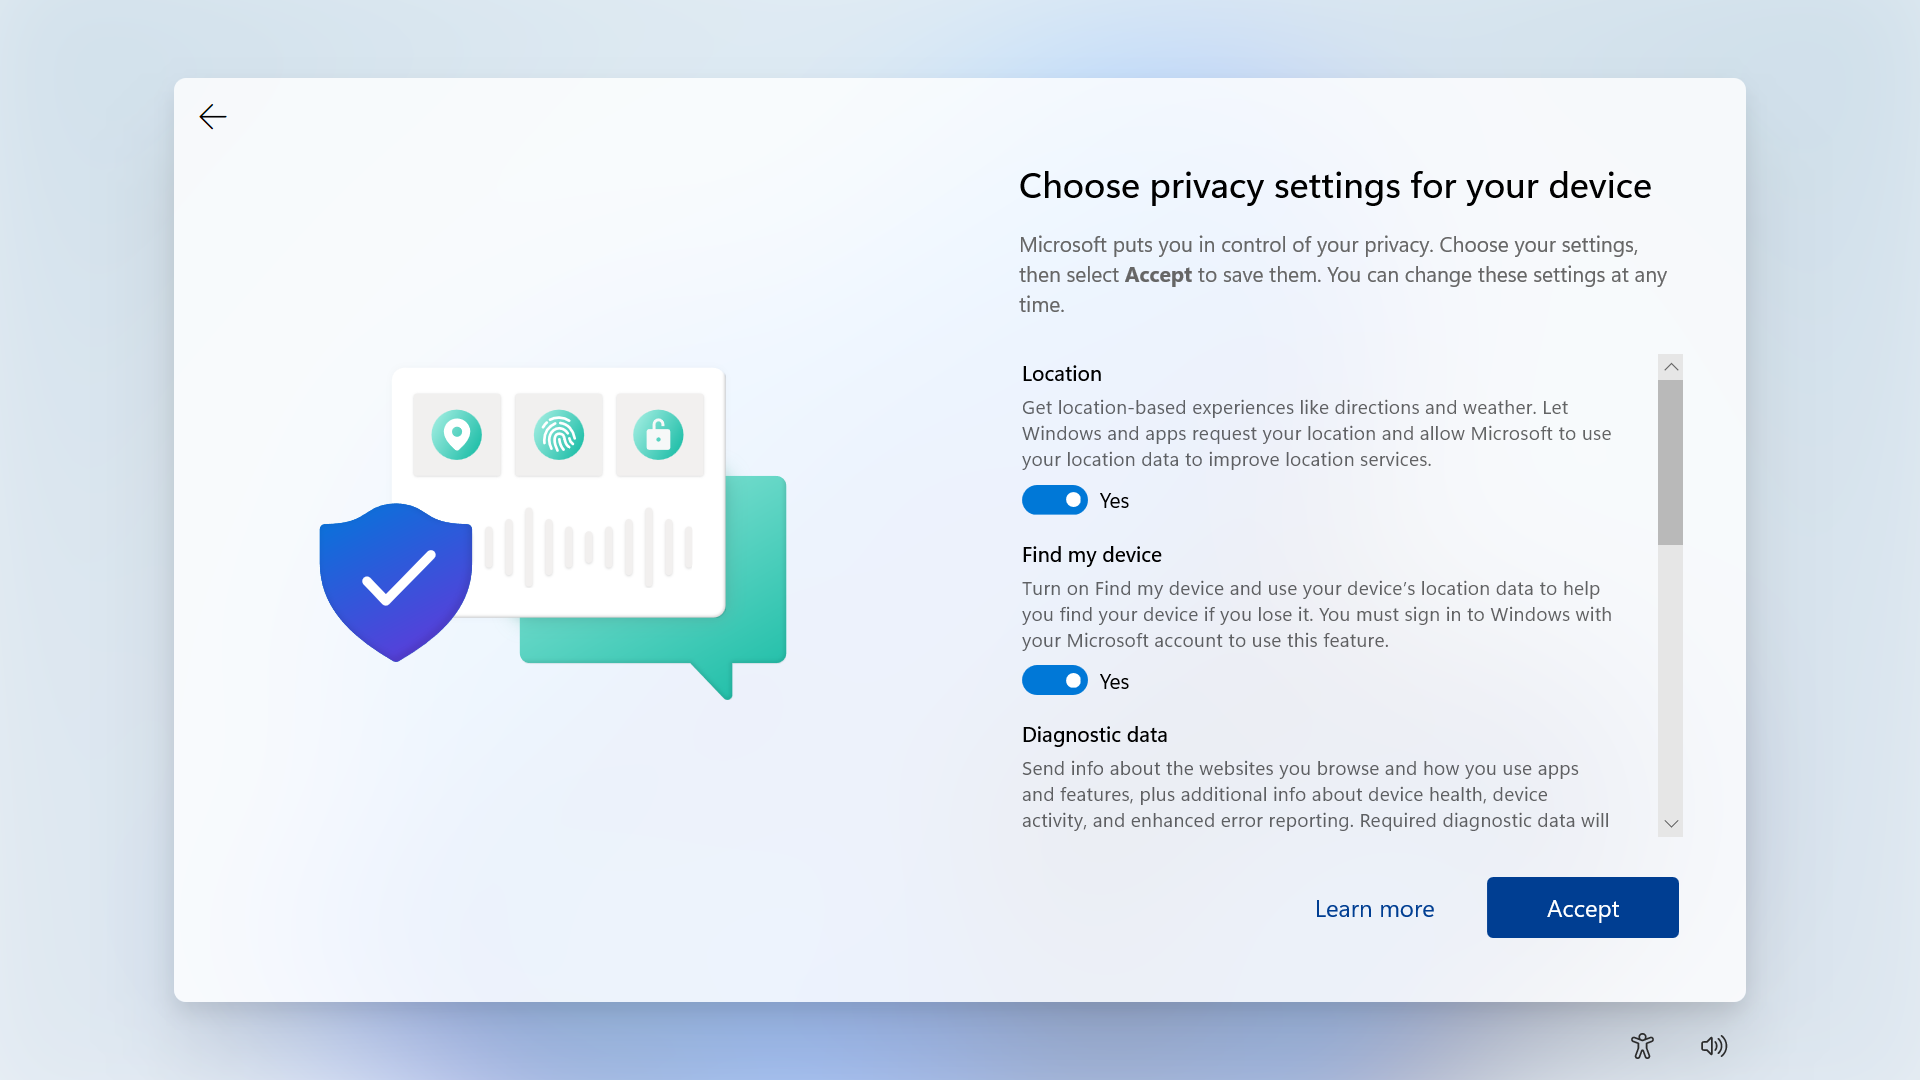
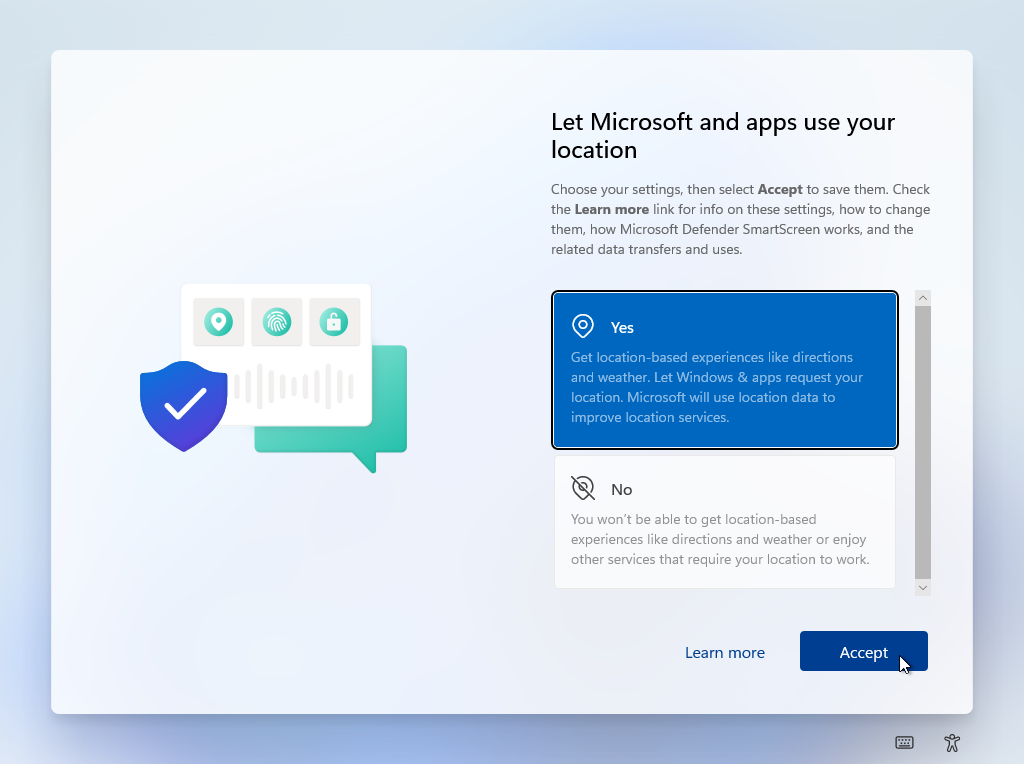
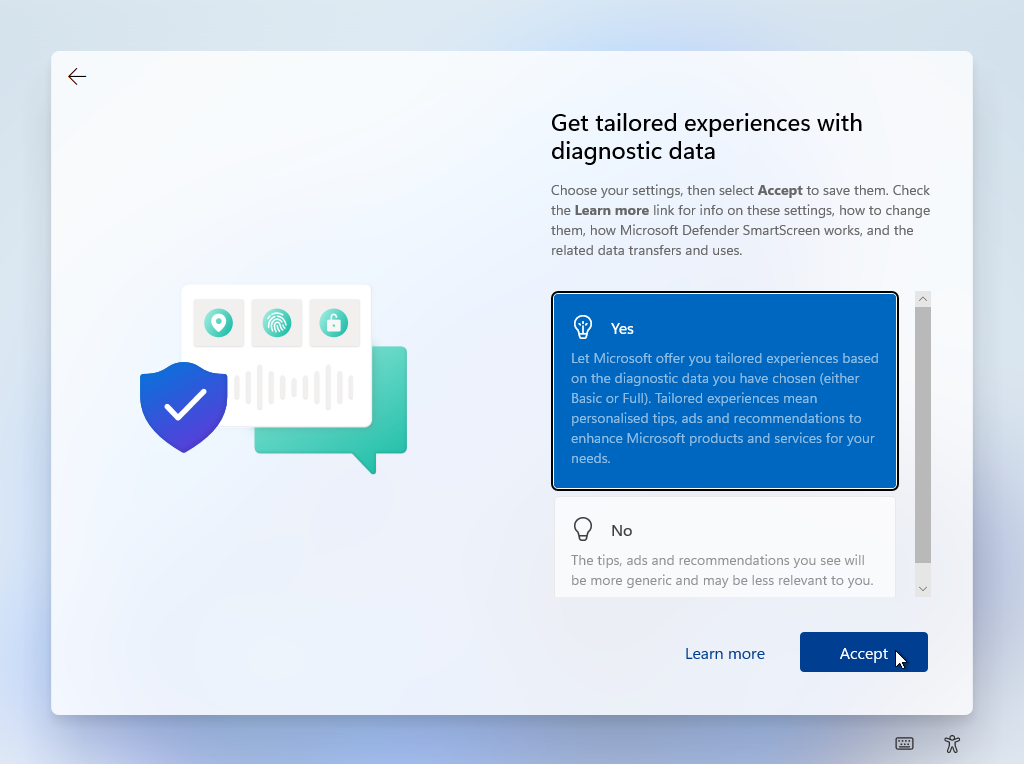
Make the following choices according to your preferences.
---
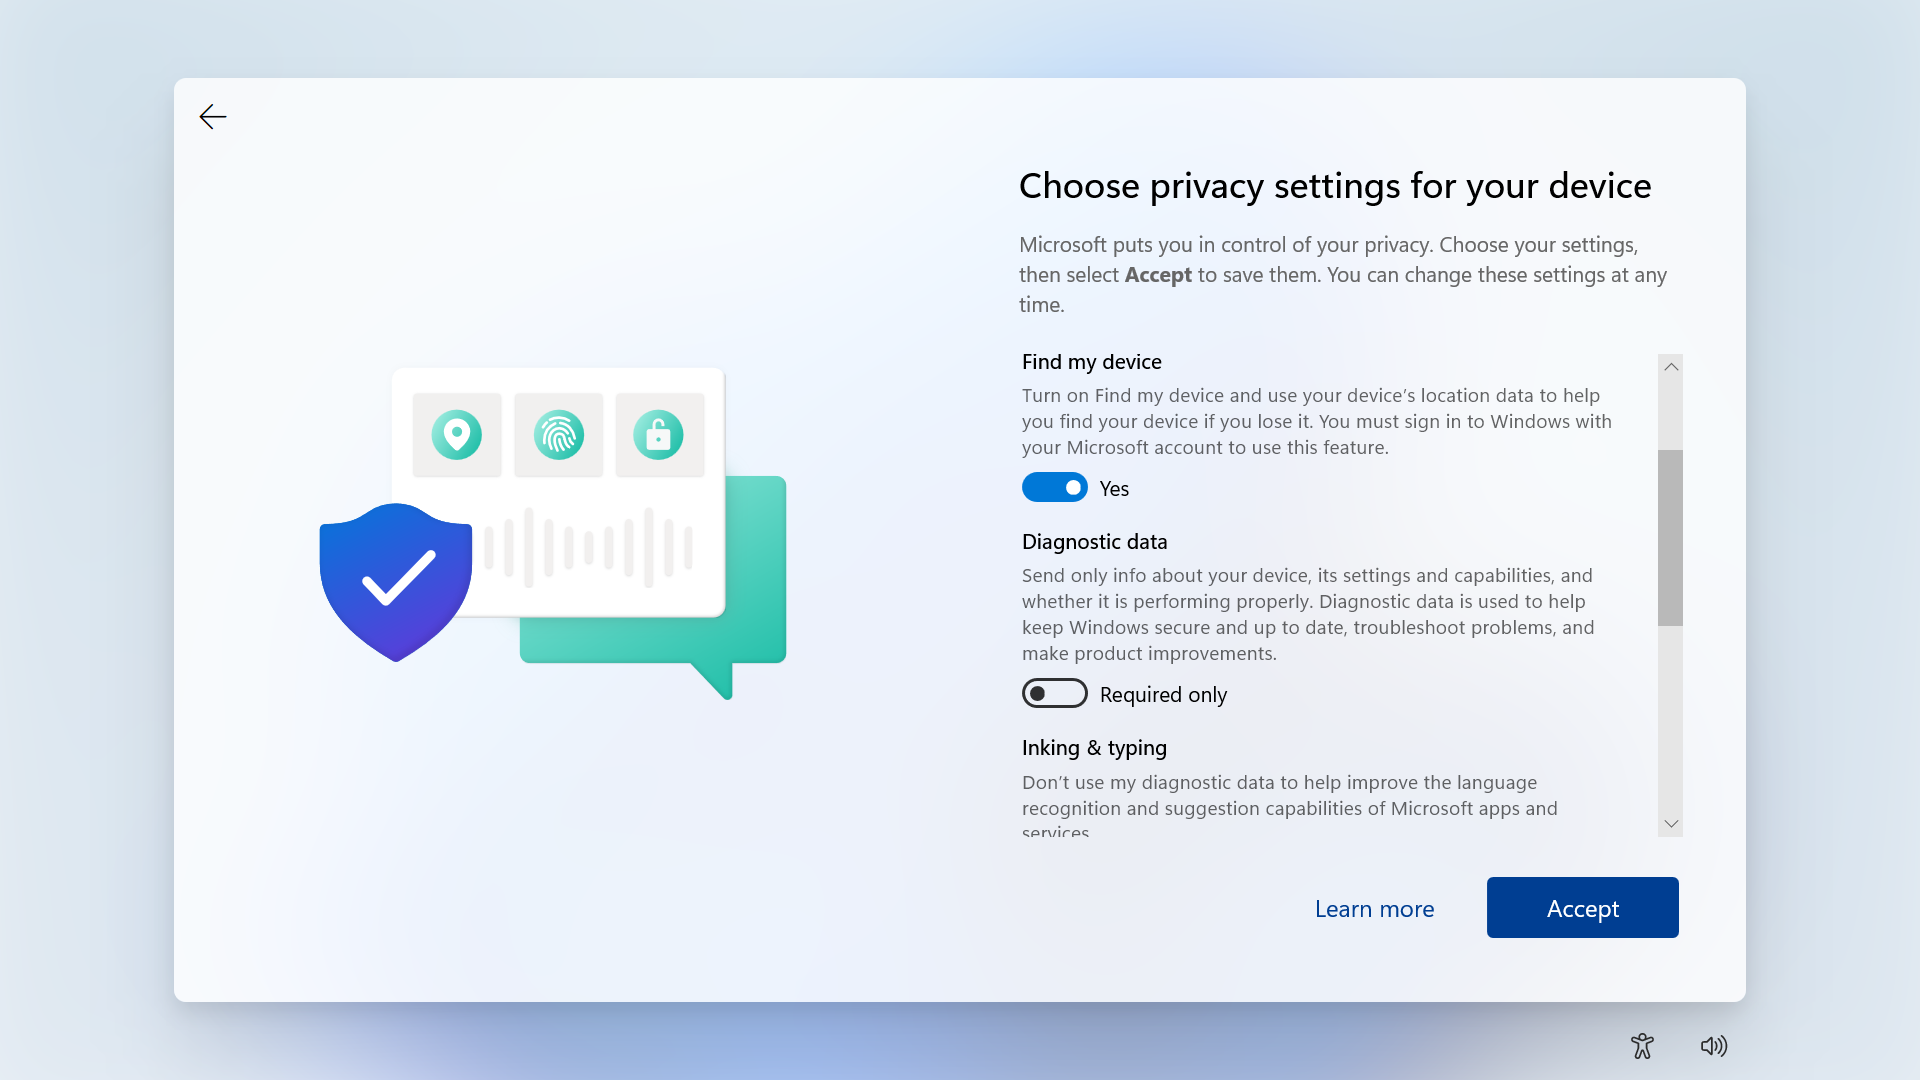
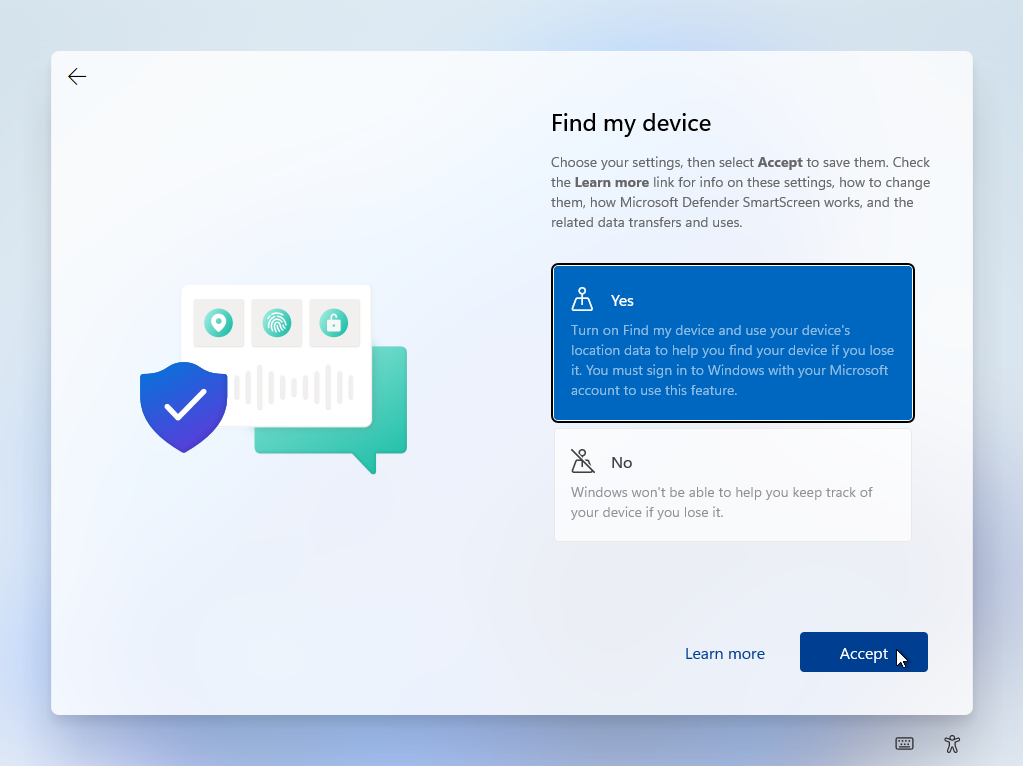
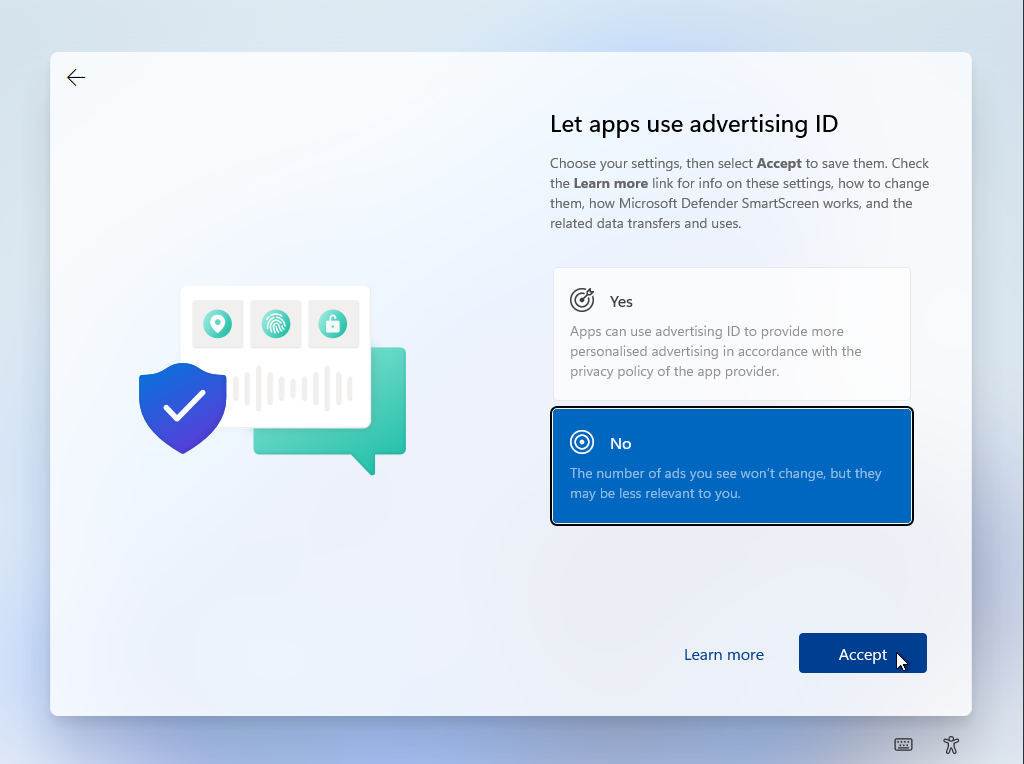
Make the following choices according to your preferences.
---
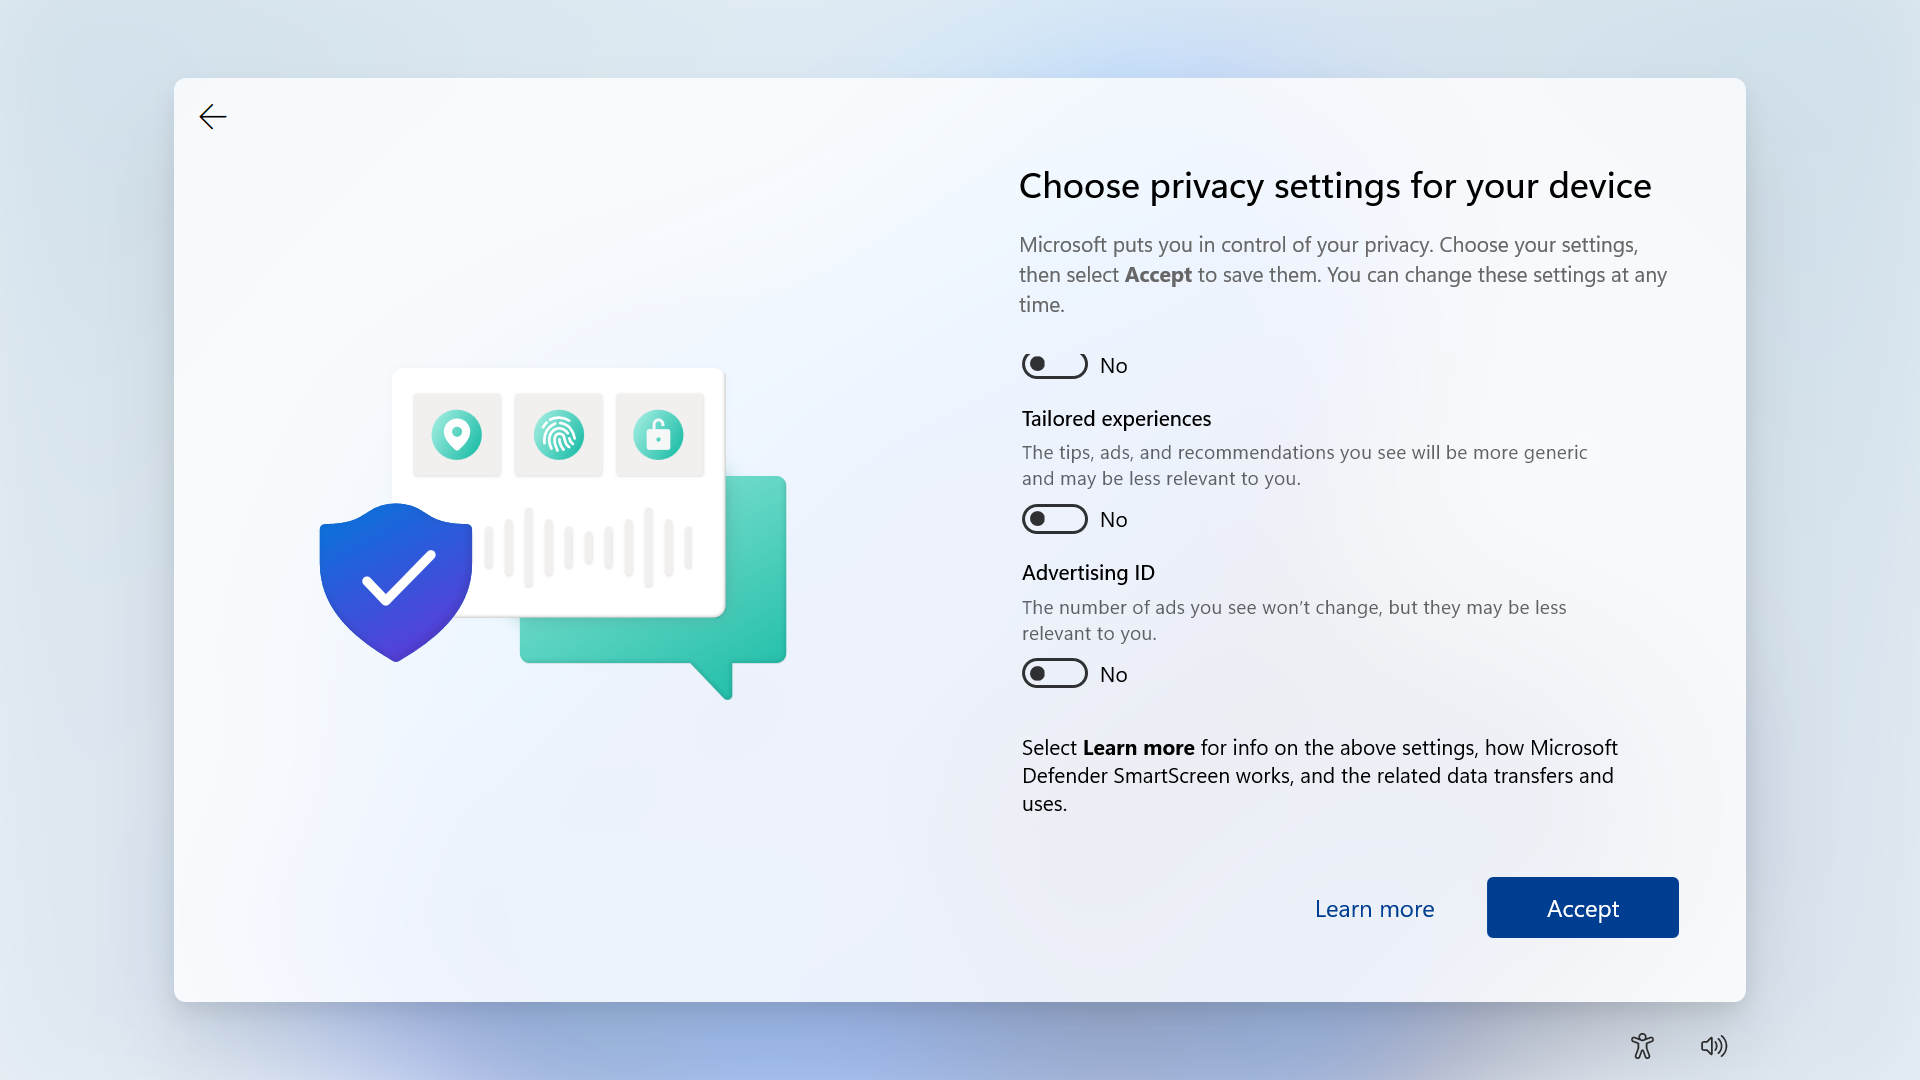
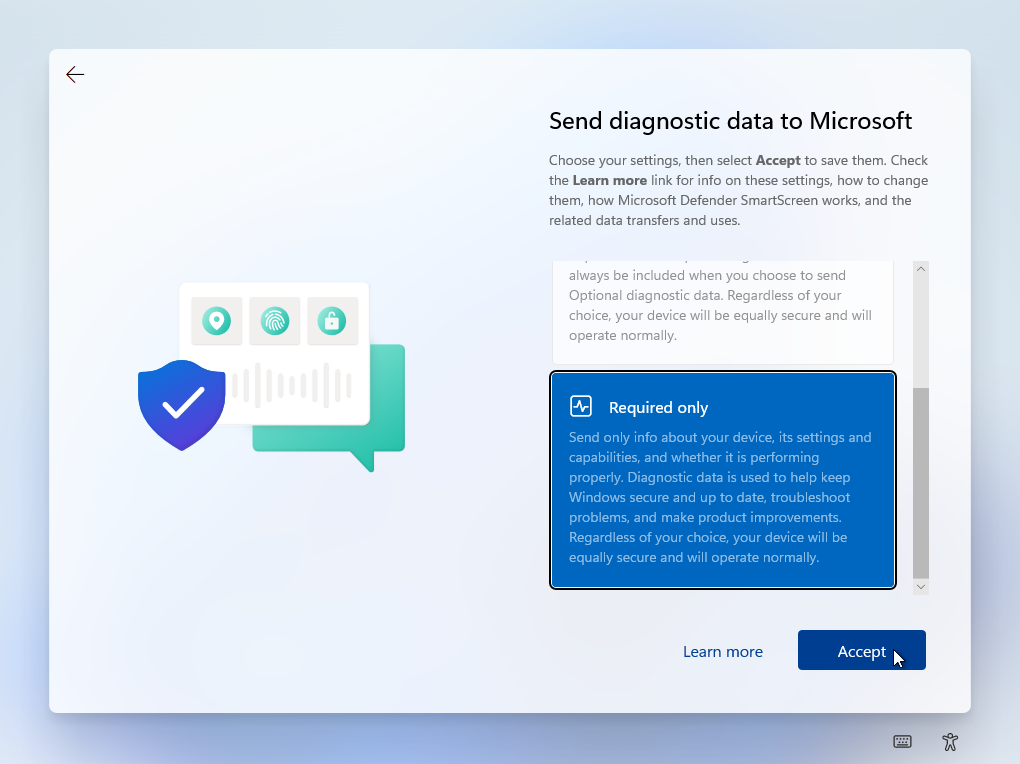
Make the following choices according to your preferences.
<!-- Make the following choice according to your preference. -->
<!--  -->
<!-- --- -->
<!-- Make the following choice according to your preference. -->
<!--  -->
<!-- --- -->
<!-- Make the following choice according to your preference. -->
<!--  -->
<!-- --- -->
<!-- Make the following choice according to your preference. -->
<!--  -->
<!-- --- -->
<!-- Make the following choice according to your preference. -->
<!--  -->
<!-- --- -->
<!-- Make the following choice according to your preference. -->
<!--  -->
---
Please wait for Windows to set up your account.
---
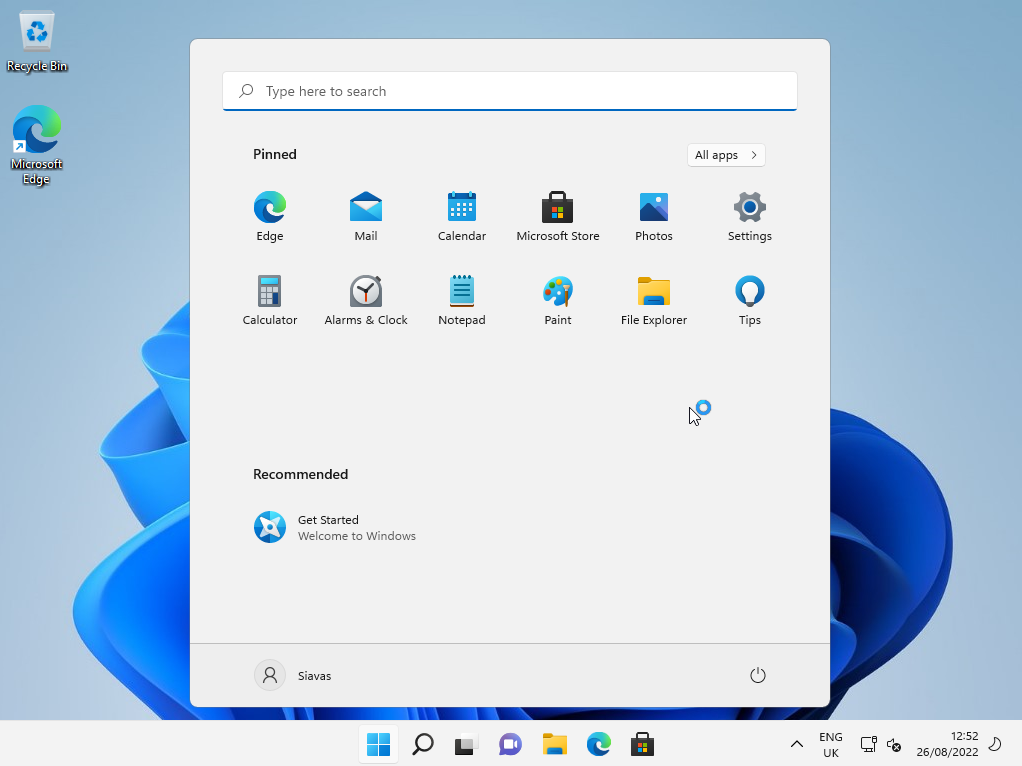
The initial Windows setup is complete. Please proceed to choosing your management model on the next slide.
---
<!-- .slide: id="management-models" -->
### Choosing your management model
Please choose the desired management model for your device:
<ul style="margin-bottom: 20px;">
<li><a href="#/cern-managed">CERN Managed</a></li>
<li><a href="#/self-managed">Self Managed</a></li>
</ul>
A summary of these two models will be shown in the next slides. Further details may be found at [cern.ch/windows](https://cern.ch/windows).
---
<!-- .slide: id="cern-managed" -->
<h3 style="margin-bottom: 5px;">CERN-managed model</h3>
<span style="font-size: 60%; margin-top: 0; margin-bottom: 0;"><sup>[< Back to management models](#/management-models)</sup></span>
When your device is CERN-managed:
- you have access to the entire app catalogue including licensed software
- CERN-specific settings apply to your machine
- system updates are managed by us, thus your device will adhere to the Monthly Updates schedule
However, where required your device may be configured as CMF locally-managed to transfer the responsibility of your device security to you, and allow you to schedule the updates installation at your own convenience.
---
#### Set up your device as CERN-managed
There are two ways in which your device can be set up as CERN-managed:
- [Join the CERN domain](#/join-cern-domain) (recommended, no reinstallation required)
This approach is recommended for most users, both of new devices and already configured ones (such as personal devices).
Once your device joins the CERN domain, it will automatically receive all relevant CERN settings and have access to CERN's list of applications via CMF.
Step-by-step instructions are provided next.
- [Reinstall Windows with CERN-specific configuration](https://devices.docs.cern.ch/devices/windows/installation/)
This is the usual method IT admins configure new devices as CERN-managed, and is the more advanced approach.
---
<!-- .slide: id="join-cern-domain" -->
### Join the CERN domain
Right-click on the Start Menu button, then choose System

---
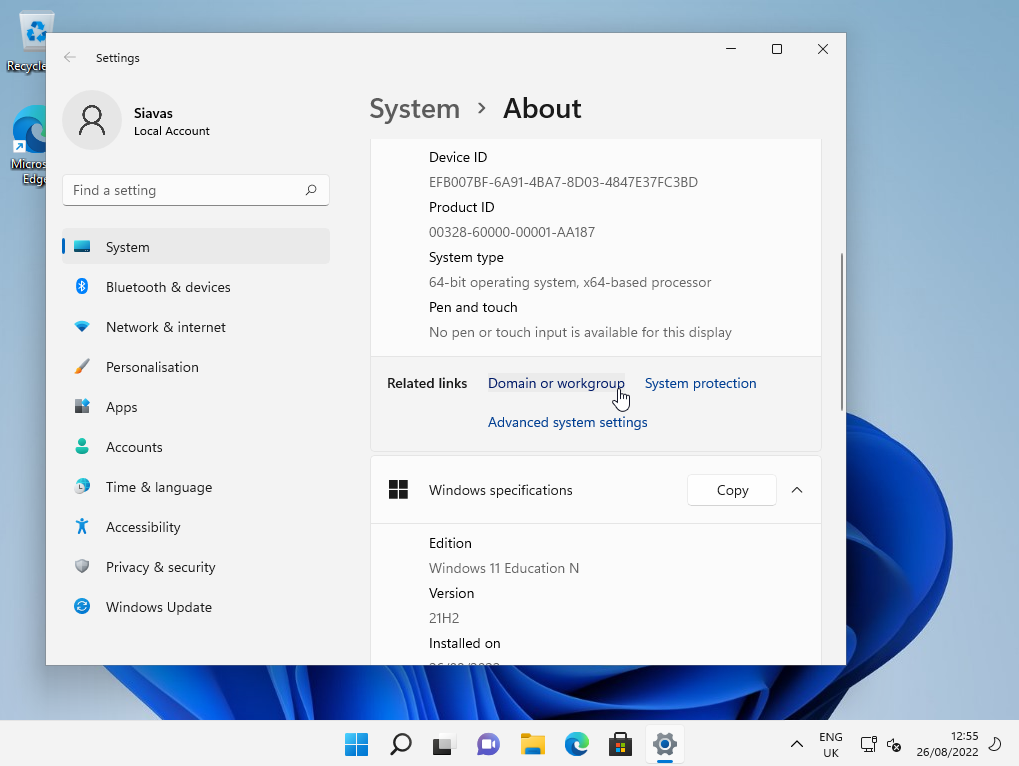
Scroll down and click on the `Domain or workgroup` option
---
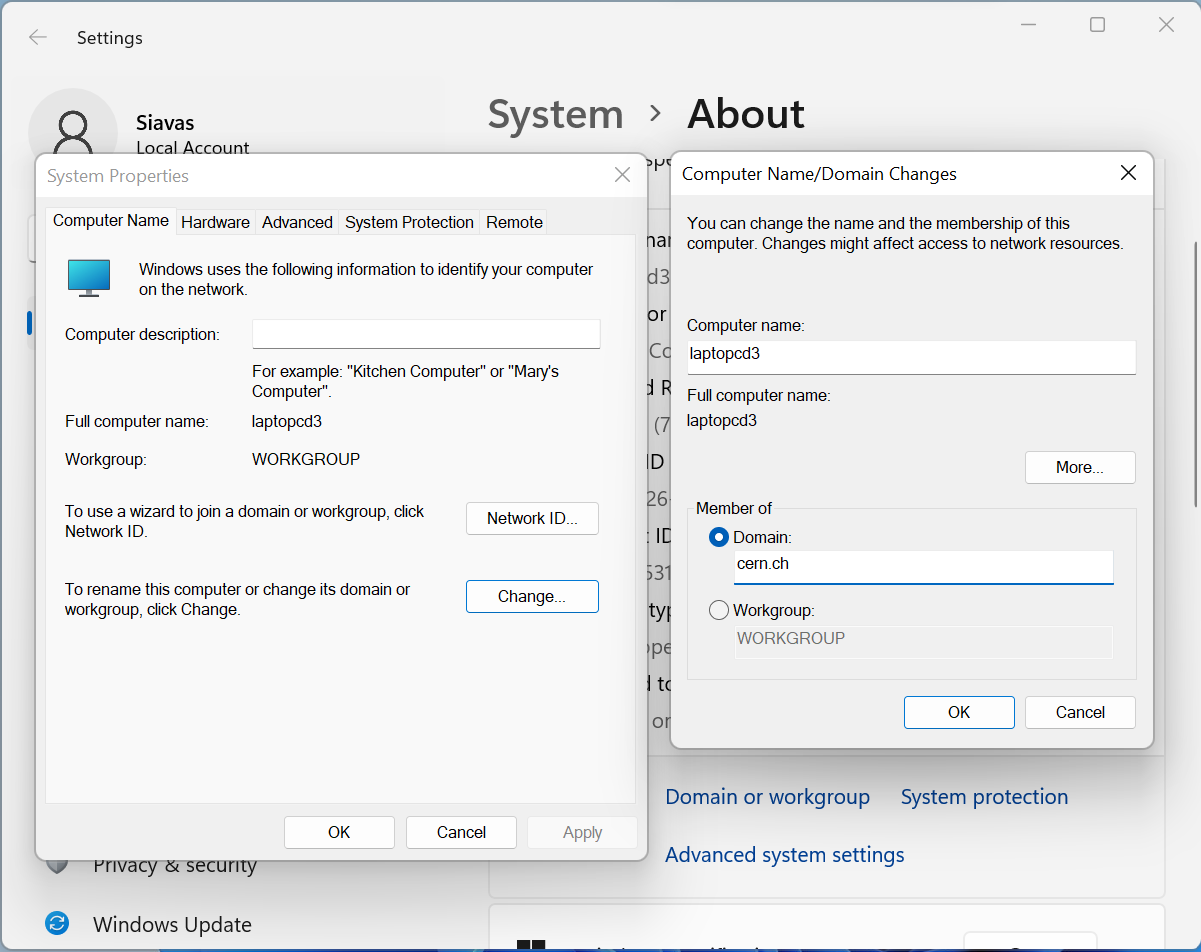
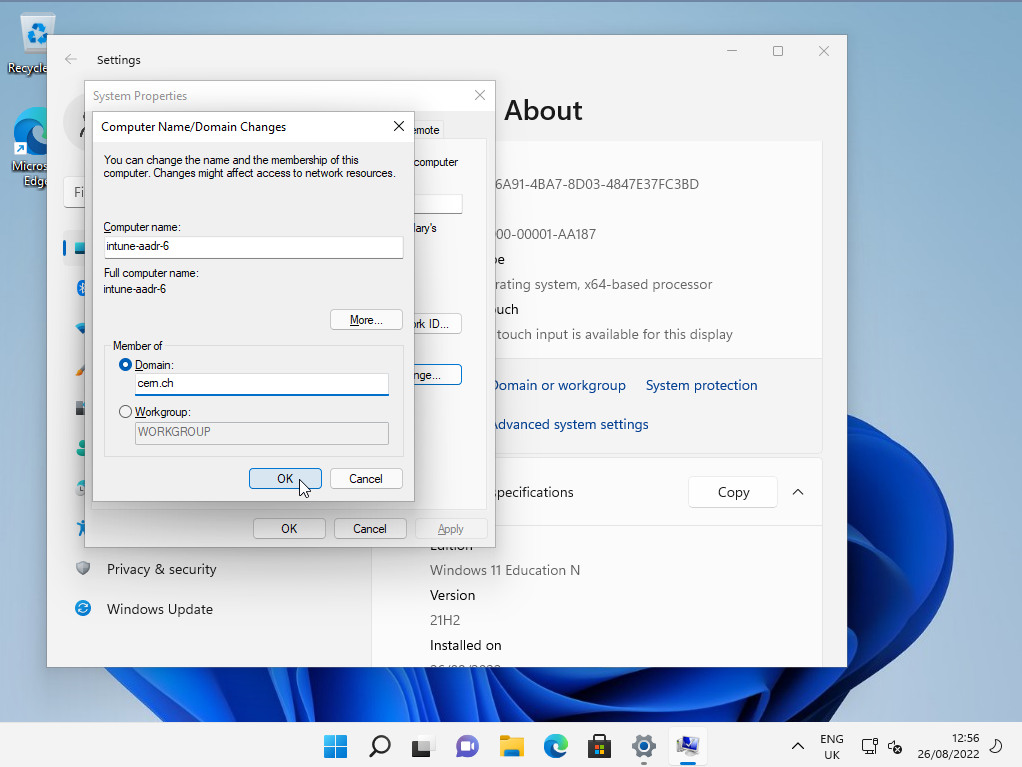
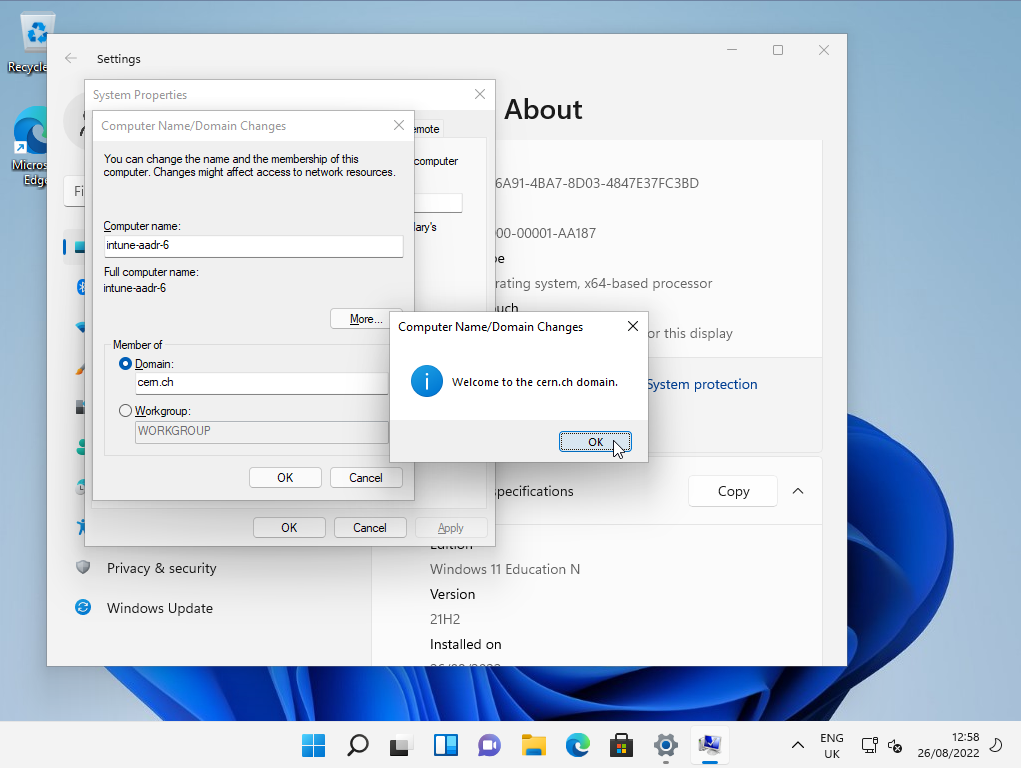
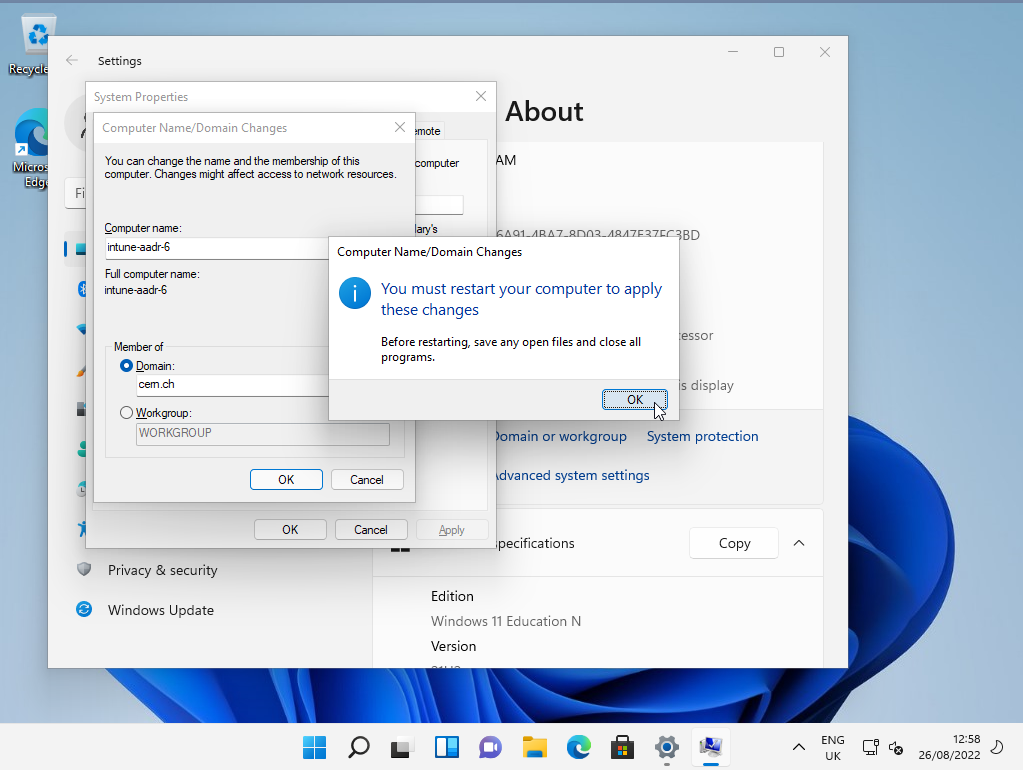
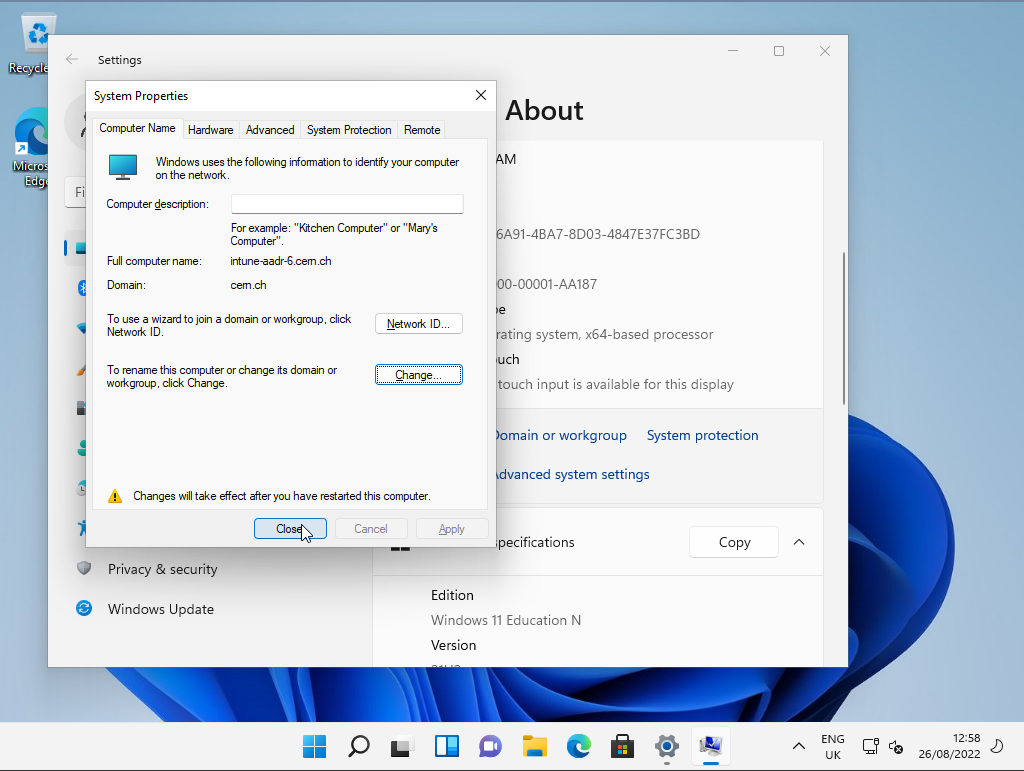
Click on the `Change` button. Make sure the `Computer name` is exactly the same that you previously registered in the Network Database. Click on the `Domain` option, then type `cern.ch` and click `OK`.
You will be asked to provide your credentials, please use your CERN account.
<!--  -->
---
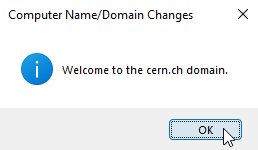
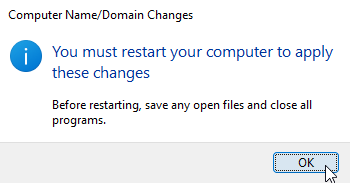
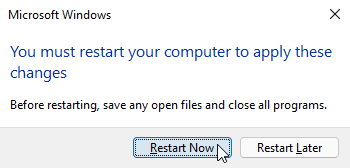
After successfully joining the domain, you will be greeted with a `Welcome to the cern.ch domain` message. After closing the panels by clicking `OK`, Windows will ask you to restart. Please proceed doing so to finish configuring your device.
<!-- In the `Computer name` field, type the exact name you gave to your device during the LANDB Network registration. -->
<!-- Choose the `Domain` option under `Member of`, and type `cern.ch` as the `Domain`. Click OK. -->
<!--  -->
<!-- --- -->
<!-- Provide your CERN credentials for registering your device, after which a welcome message will appear. -->
<!--  -->
<!-- --- -->
<!-- Windows will ask you to restart your device, please proceed doing so. -->
<!--  -->
<!-- --- -->
<!-- Close the panel, after which Windows will prompt you for the restart. -->
<!--  -->
<!-- --- -->
<!-- Choose Yes, and wait for the machine to be rebooted. -->
<!--  -->
---
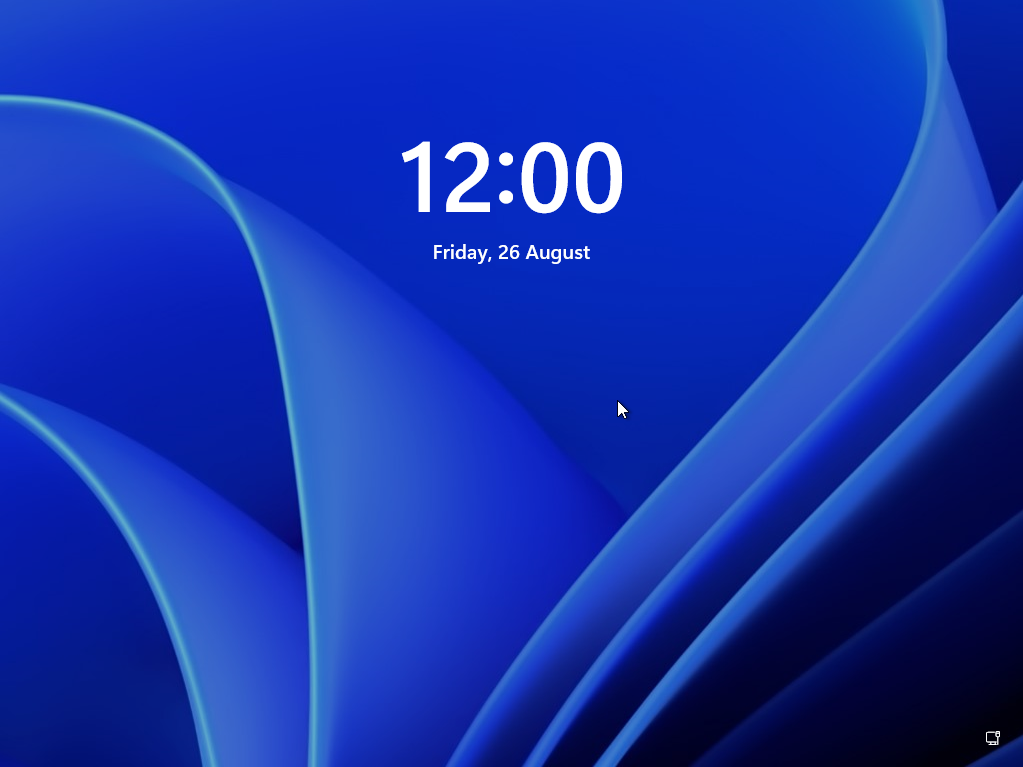
After your device has restarted, select `Other user` and provide your CERN credentials for logging in.
---
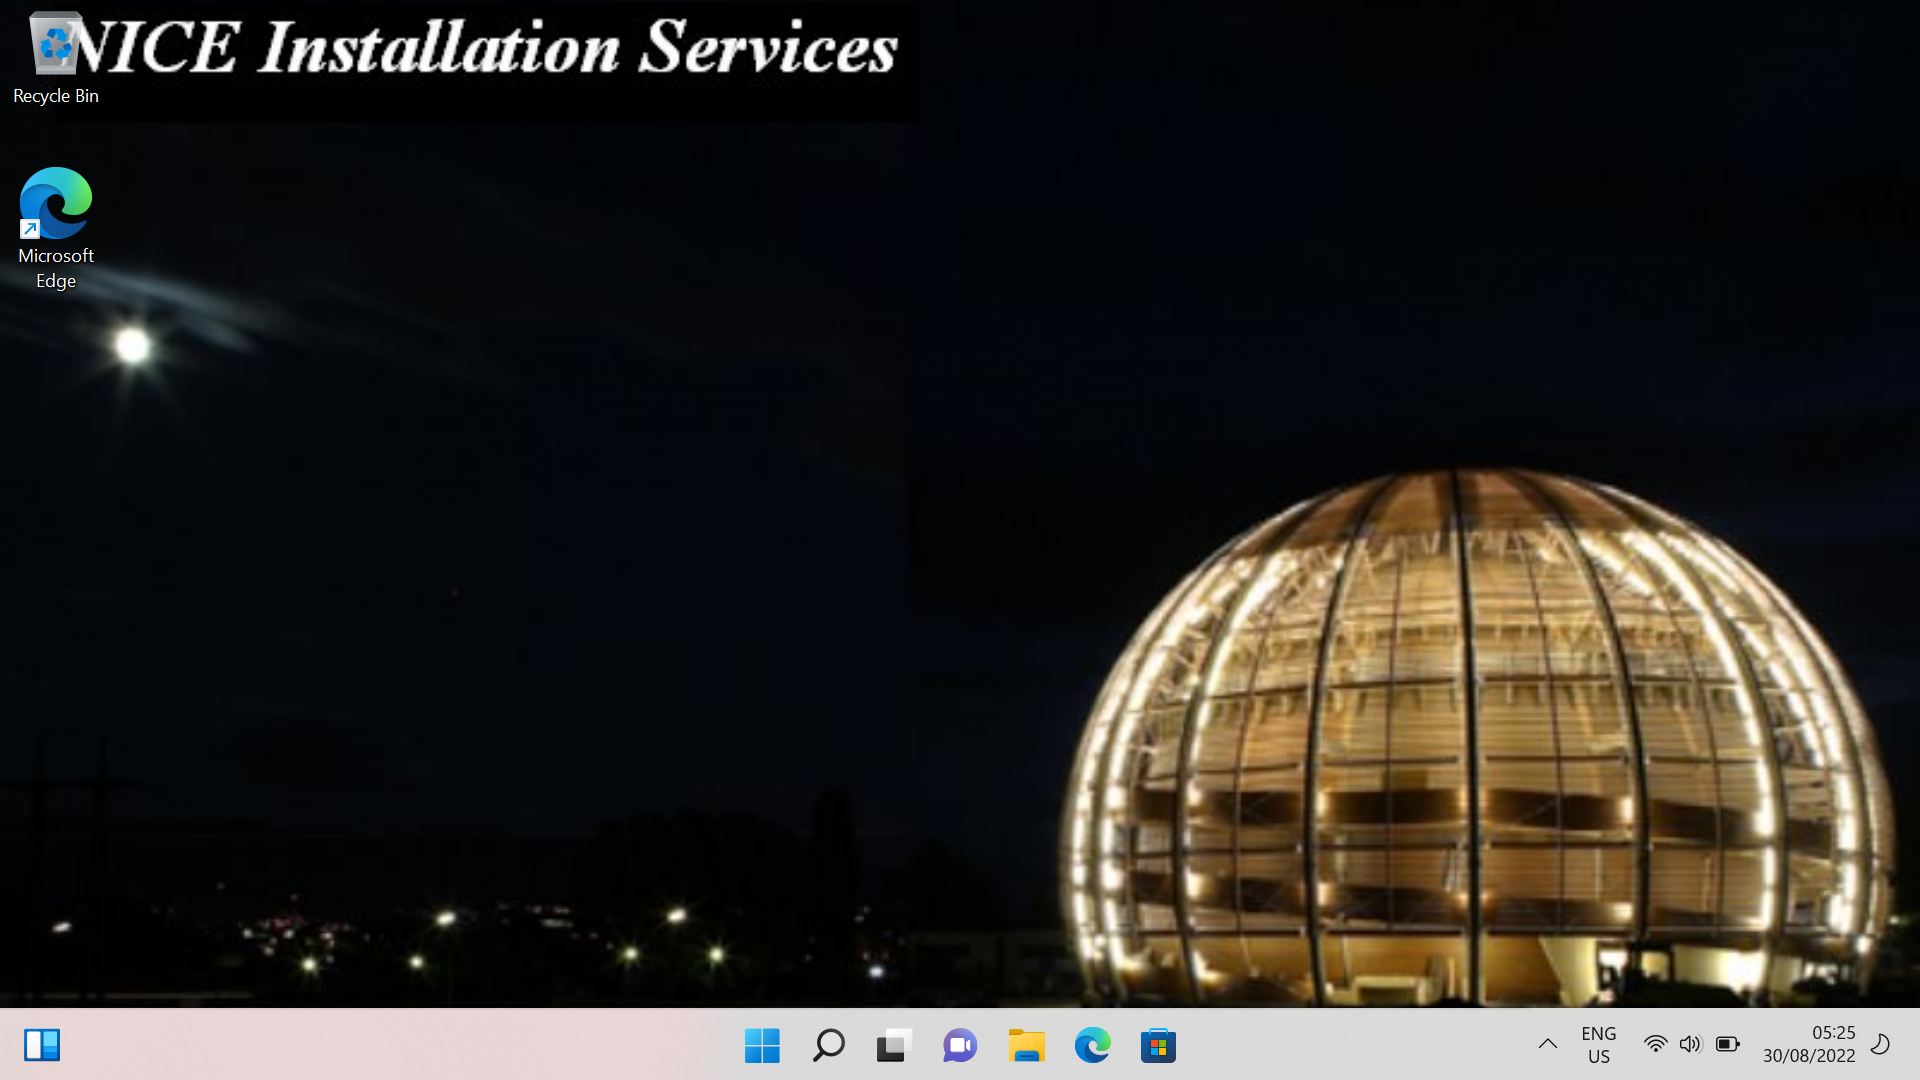
After logging in, you will the background as below, showing you that CMF is installing the default apps on your device. Some restarts may occur during this process, please make sure to wait until the background is changed before using your device.
---
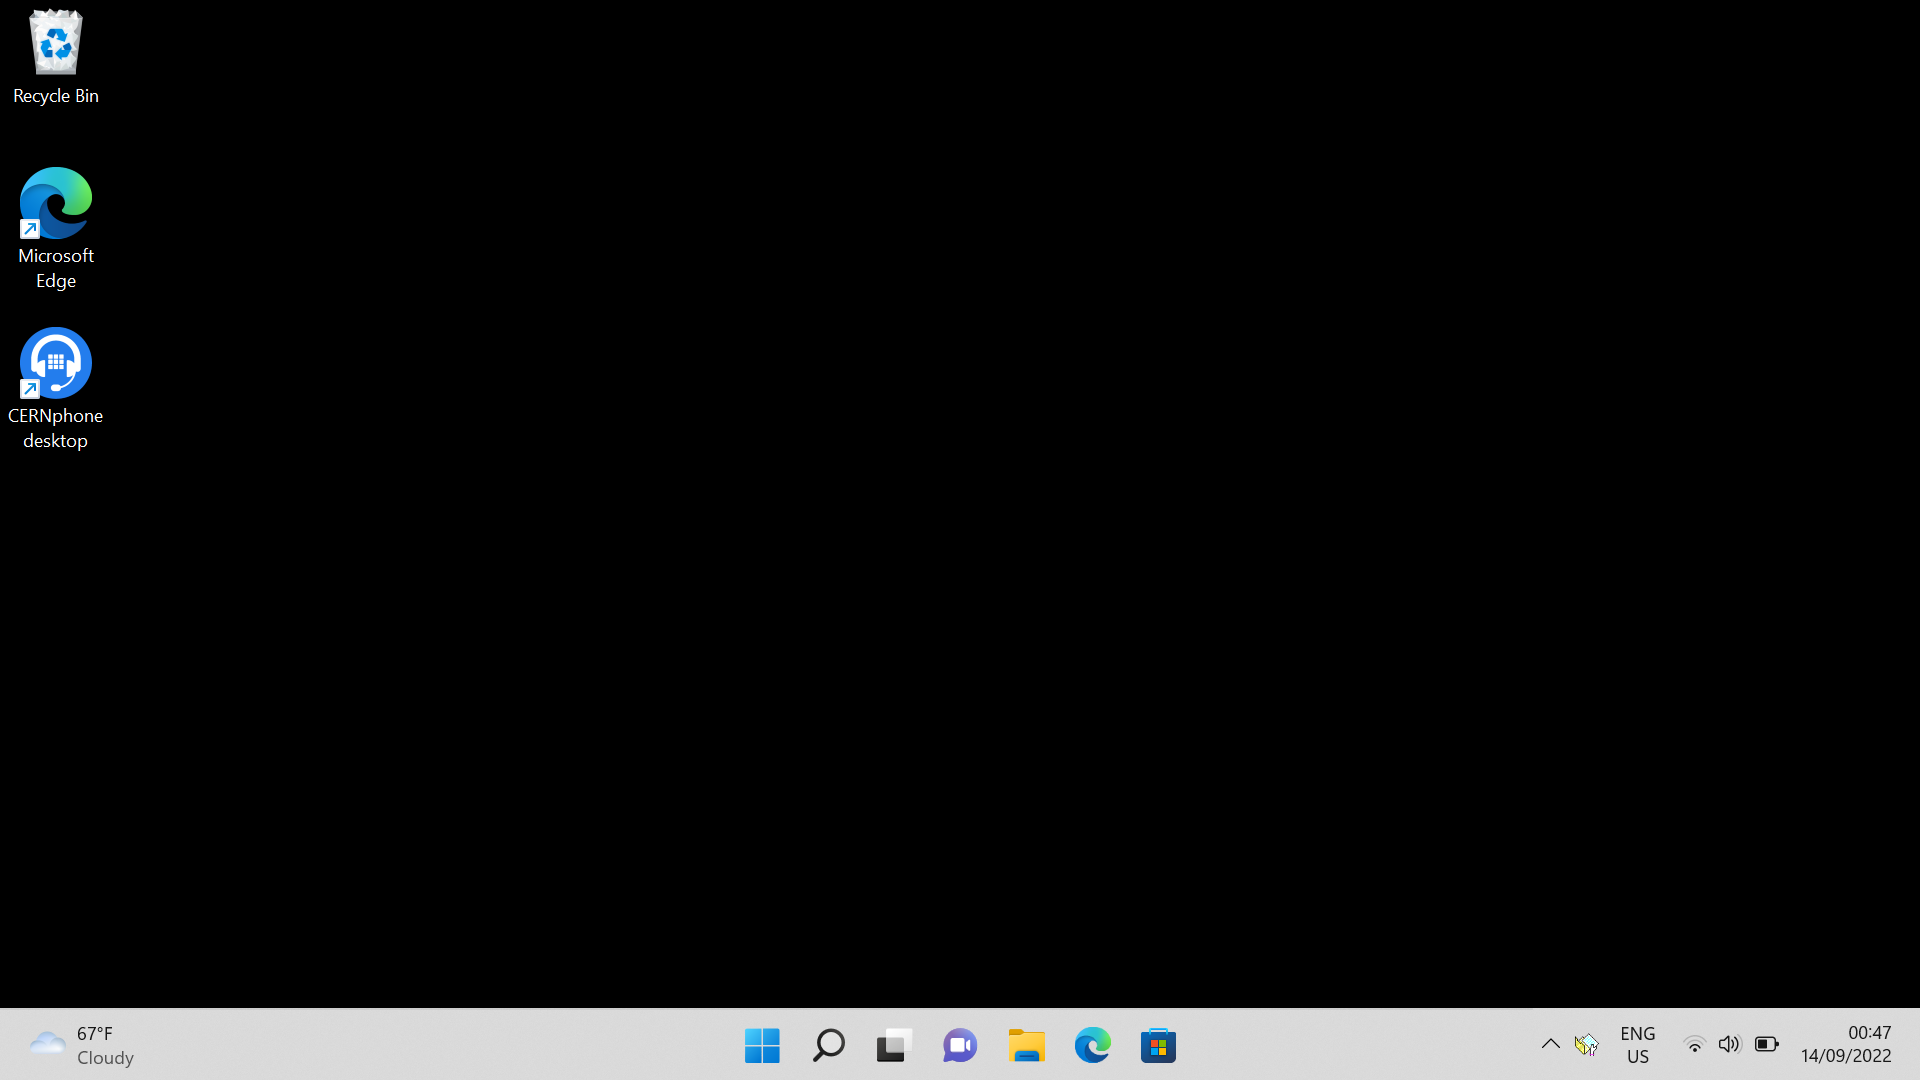
Once that happens, congrats! Your device is now set up as CERN-Managed.
---
<!-- .slide: id="self-managed" -->
<h3 style="margin-bottom: 5px;">Self-Managed model</h3>
<span style="font-size: 60%; margin-top: 0; margin-bottom: 0;"><sup>[< Back to management models](#/management-models)</sup></span>
The Self-Managed model is an alternative method for configuring your device for CERN use. More specifically:
- you obtain access to a subset of CERN's applications via the [CERN AppStore](https://appstore.web.cern.ch/)
- your device will not receive any CERN-specific settings
- system updates are managed by you via Windows Update (the default for Windows devices) and is your reponsibility to keep your system and apps up-to-date
For configuring your device as self-managed, please follow the instructions on [how to install the CERN AppStore](https://devices.docs.cern.ch/devices/windows/CERNAppstore/client/) on your device.